1. Gather the supplies: bonsai seeds, a small potting container filled with fresh soil, and water. 2. Wet the soil in the potting container by evenly sprinkling water across it until it is completely soaked. 3. Place the red cedar bonsai seeds in the moistened soil at a depth of roughly one centimeter deep (for larger seeds, use two centimeters). 4. Cover the seed with a thin layer of extra soil for added insulation and retain moisture better over time. 5. Keep your bonsai’s environment consistent by maintaining temperature between 68 and 77 degrees Fahrenheit throughout germination process and ensuring that your potting mix does not dry out too much or become overly soggy from overwatering. 6. Once your seeds have sprouted, continue to give them moderate amounts of light and keep an eye on their root system to ensure they are growing properly in their new environment before replanting into a larger bonsai potting mix suited specifically for red cedars.
Contents:
- Preparing the Seeds: Essential Steps to Take Before Germination
- Ideal Growing Environment for Red Cedar Bonsai Seedlings
- Soaking Red Cedar Seeds: A Crucial Step in Germination
- How Long Does it Take Red Cedar Bonsai Trees to Germinate and Sprout?
- Providing Optimal Care during the Early Growth Stage of Red Cedar Bonsai
- Common Challenges Faced During Germination and Their Solutions
- Transplanting Your Young Red Cedar Bonsai Seedling: Key Considerations
Preparing the Seeds: Essential Steps to Take Before Germination
Before beginning the process of germinating a Red Cedar Bonsai, it is important to first properly prepare the seeds. Doing this will help ensure successful germination as well as health and vitality in the seedling. The most essential step is to soak the seeds overnight in lukewarm water, preferably distilled. This can allow some of the outer hard coating to soften and will encourage air bubbles to be released from inside, allowing more oxygen into the seed for improved growth.
After soaking, the next step is filing down any remaining hard coating still on each individual seed. Doing this will help create smaller breaks which are easier for a young root tip to penetrate through during germination. To file down these small bits of hard protective coating on each seed, use either sandpaper or an emery board with very light pressure applied over small sections at once until all areas have been exposed evenly. Make sure not to damage or break off parts of the actual seed underneath.
Ensure that you plant your prepared seeds immediately after filing them down so they do not dry out before planting – especially if working with multiple batches of seeds. Some people like to use fungicides while prepping their seeds but research should be done beforehand regarding potential damages that might come from using such products when dealing with delicate bonsai plants. Ultimately though, following proper steps prior to sowing Red Cedar Bonsai seeds can greatly aid in success and increasing chances for healthier development afterwards too!
Ideal Growing Environment for Red Cedar Bonsai Seedlings
To ensure successful germination and growth of a red cedar bonsai seedling, it is important to provide the ideal growing environment. When planted in optimal conditions, the red cedar bonsai will grow quickly and flourish with proper care.
The ideal temperature for germinating a red cedar bonsai is between 65°F-75°F (18°C – 24°C). If temperatures fall outside this range, there can be detrimental effects on the seedling’s development. The seeds should receive indirect light during the germination process or else they may not sprout at all. The area around them should also remain moist but not overly wet so as to avoid root rot or other fungal infections that can occur due to poor watering practices.
Adequate airflow is essential for ensuring that humidity levels remain low enough for healthy plant growth and preventing any diseases from spreading throughout your young bonsai garden. To help facilitate this, it may be beneficial to invest in an air circulation system specifically designed for bonsais or use an oscillating fan if necessary. Providing these elements will give your seedling everything it needs to thrive and grow into a mature red cedar bonsai tree.
Soaking Red Cedar Seeds: A Crucial Step in Germination
Soaking red cedar seeds is a critical step in germinating them correctly. These conifers contain several layers of hard seed coat, which can make it difficult to stimulate the start of the germination process. Therefore, they must be soaked before any further steps can occur. This procedure should not take more than a few days and is an essential part of growing a red cedar bonsai from seeds.
The ideal way to soak these seeds is in distilled water for three or four days at room temperature. You should ensure that all the shells are completely submerged in the liquid and then replace the water every day until after you have noticed the results. When preparing the solution, it’s best to avoid using warm water since this can lead to germination prematurely and weaken its potential growth rate. Doing so will allow better absorption and hydration of nutrients while preserving some moisture within the husks during storage without causing mould issues or over-saturation of materials inside them.
During soaking, it’s recommended that you also add an acidic substance such as citric acid or vinegar into your concoction for increased permeability into deeper parts of their shells; this increases success rates considerably when attempting germination with limited resources available. Even though your mixture may seem murky due to sediment that washes off from seed cases, don’t worry. You’re still on track if done properly – simply discard old solution after each day has passed and begin again with fresh ingredients until a visible sign indicates readiness for additional steps towards successful bonsai cultivation!
How Long Does it Take Red Cedar Bonsai Trees to Germinate and Sprout?
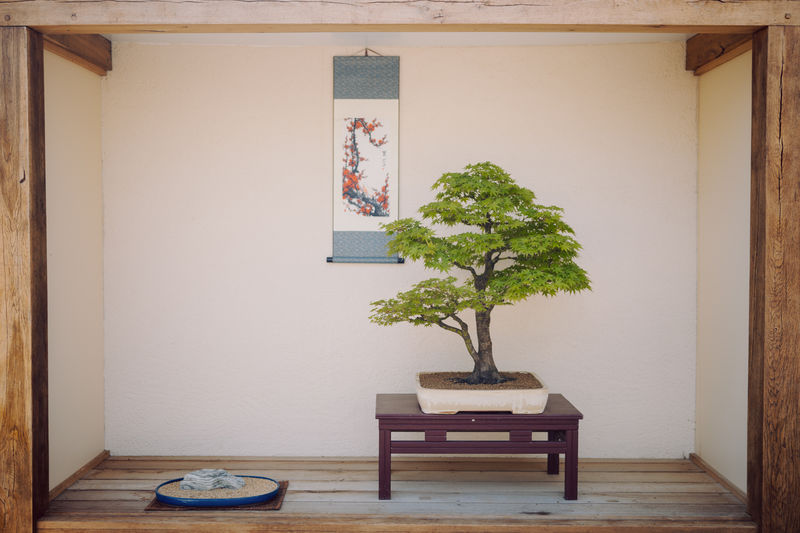
Germinating a red cedar bonsai can take anywhere from several weeks to months, depending on the season, temperature and humidity levels of your environment. Generally speaking, warm temperatures will ensure that your tree seeds germinate faster while cooler environments will make it take longer. The best time to begin the germination process is during late winter or early spring when temperatures are moderate and consistent.
Moisture plays an important role in the germination process for red cedar bonsai trees as well. If you’re using soil-less potting mix as part of your germination setup, be sure to keep this consistently moist by regularly spraying or misting with water. Too much moisture, however, can cause issues such as mold growth or seed decay so it’s important to get the balance right here too.
The germination period itself can range widely depending on a variety of factors such as species age, size and quality of seeds used – but most red cedar bonsais should start sprouting within 3-4 weeks if conditions are right. It’s always advisable to check daily for signs of growth during this time frame since some varieties may not have any visible activity at first glance but may still be in the very early stages of their development cycle.
Providing Optimal Care during the Early Growth Stage of Red Cedar Bonsai
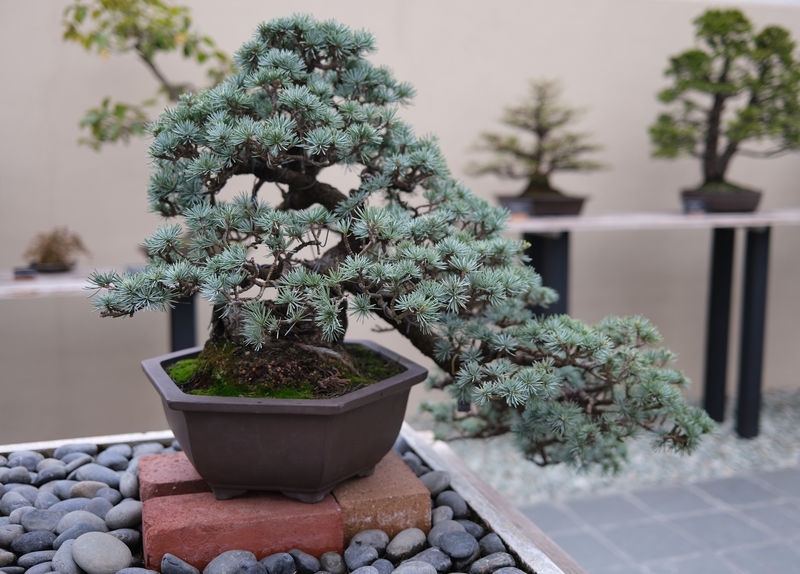
Caring for a red cedar bonsai during the early growth stage is extremely important and necessary for it to thrive. Properly germinating the tree is only the first step in providing optimal care, as the following weeks are critical for establishing a healthy foundation from which the bonsai can grow. When caring for your bonsai seedling, one should give special attention to soil moisture and nutrition.
When watering your red cedar bonsai, make sure that there is enough moisture in its surrounding area so that it does not dry out too quickly. If planted outdoors, consider mulching around your tree with organic material such as bark or compost to help maintain an appropriate level of soil moisture. It’s vital to use lukewarm water when you water your plant–cold water can shock the roots and stunt development.
In order to nourish your young red cedar bonsai appropriately, fertilize periodically with an all-purpose houseplant fertilizer at half strength throughout its early growing months; always double-check manufacturer recommendations before applying fertilizer. For more mature trees that have been growing for more than a year or two after germination, one should begin using a balanced fertilizer higher in nitrogen rather than phosphorous and potassium. However keep in mind that over-fertilizing can be harmful so make sure you don’t overdose!
Common Challenges Faced During Germination and Their Solutions
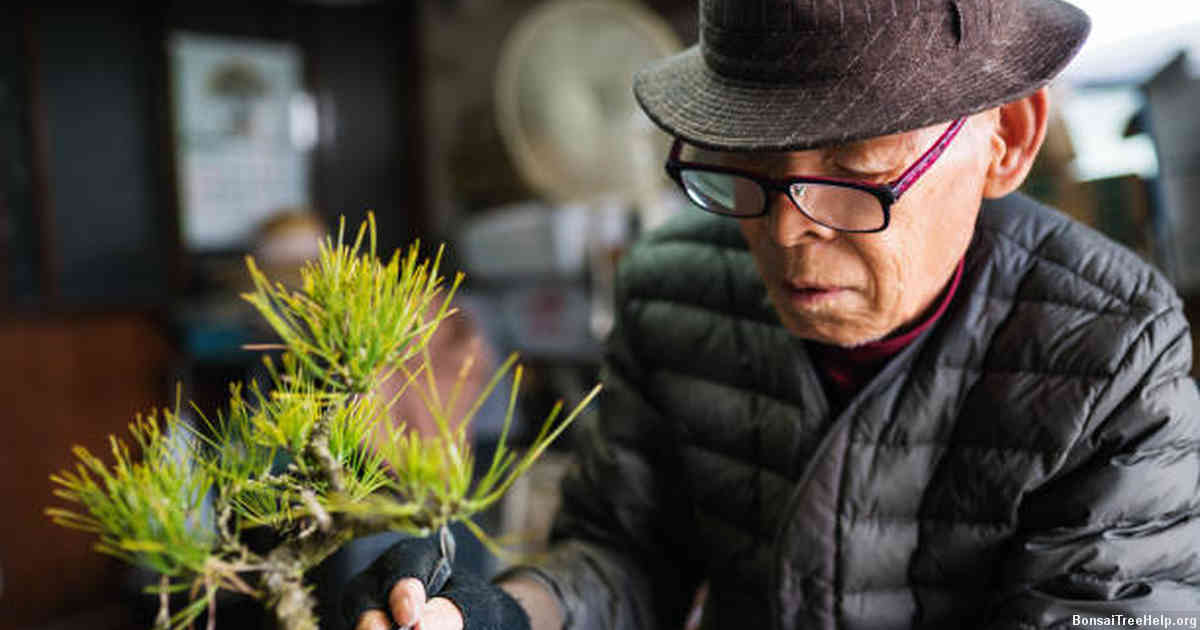
Germinating a red cedar bonsai can be a challenging process that requires skill and patience. It is important to remember to not rush the germination as doing so can often result in unsuccessful attempts with an inconsistent rate of success. Common challenges encountered during germination are cold temperatures, inadequate moisture, poor soil conditions and lack of light.
Cold temperatures can interfere with the ideal growing environment for germinating seeds by stifling the growth and preventing the plants from sprouting leaves or otherwise maturing quickly enough. To counteract this issue, gardeners must take measures to provide their red cedar bonsai seedlings with adequate warmth, such as positioning them close to a heat source such as a radiator or alternatively by using warming mats. Ensuring that there is adequate protection from drafts should also help create an optimal setting for germination growth.
Adequate moisture levels are also essential when it comes to successfully growing red cedar bonsai seedlings. If they become too dry they will not have access to necessary nutrients required for healthy development and growth, while excessive moisture can cause mold build-up which in turn could damage any progress made thus far in the plant’s life cycle. Keeping track of the humidity level within your designated space is key – using a hygrometer will ensure you know when it’s time increase/reduce watering frequency accordingly.
The composition of your soil mix must also meet certain criteria if you want successful results – ideally sand should make up around 15 percent of its overall texture as this will give good drainage properties, allowing excess water and air pass through easily whilst retaining all other essential nutrients needed for bonsai seedling cultivation – whereas clay soils typically contain too much salt content which could then disrupt the acidity balance necessary for proper germination processes.
Finally; despite being planted indoors under controlled conditions (to help regulate temperature) light exposure still plays an integral part in red cedar bonsai germination success; therefore windowsill locations or terrarium set ups generally work best here – these allow natural sunlight but filter out harmful UV rays at same time meaning total control over irradiation is possible throughout duration of trial period without having worry about external environmental factors unnecessarily affecting maturer stages later on down line.
Transplanting Your Young Red Cedar Bonsai Seedling: Key Considerations
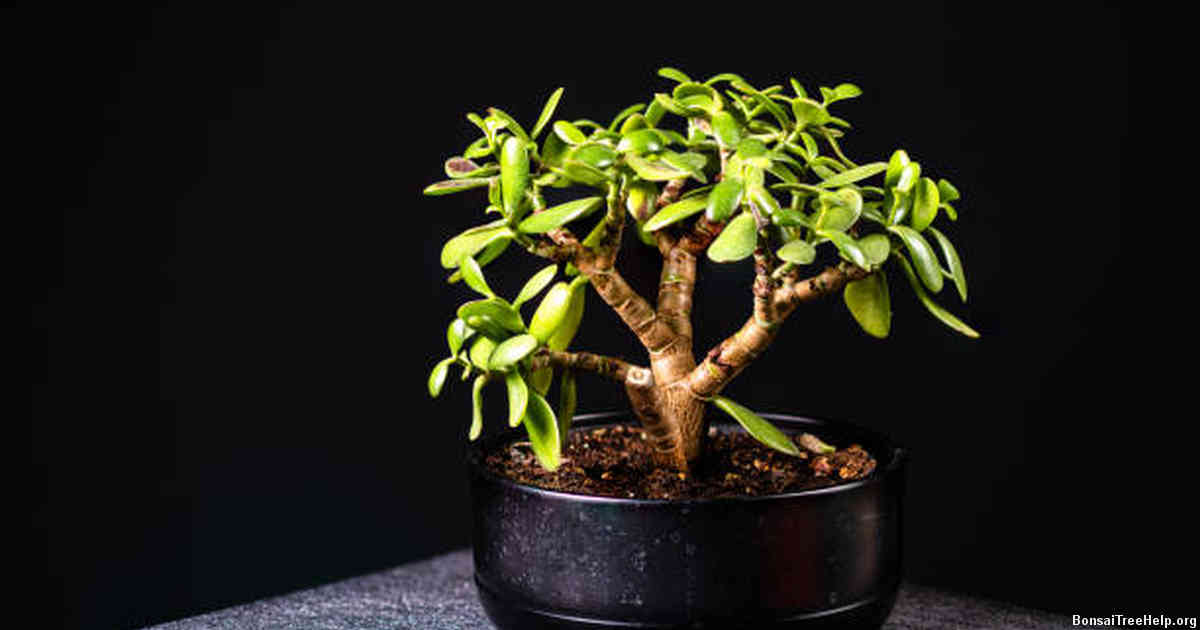
One of the key steps to a successful red cedar bonsai involves transplanting your young seedling. To ensure that you get the best results, it is important to understand some of the key considerations for this process.
When moving your seedling from its original pot or environment, make sure that you are using fresh soil and properly draining vessels. This helps the roots to establish quickly and allows them to breathe without becoming overly congested. Utilize a higher quality soil with good aeration so that oxygen can move around freely. The ideal pH level should be between 6-8, ensuring a well balanced environment for healthy growth.
When selecting a new location in which to transplant your seedlings make sure you choose an area with ample light and moisture retention capabilities. For example, avoid harsh direct sunlight or excessive wind that may dry out the soil faster than expected. Use caution when handling fragile young plants as they can easily succumb to environmental conditions outside their preferred range such as extreme temperatures or sudden changes in weather patterns. It’s always better to take preventative measures before attempting any drastic moves.
Leave a Reply