
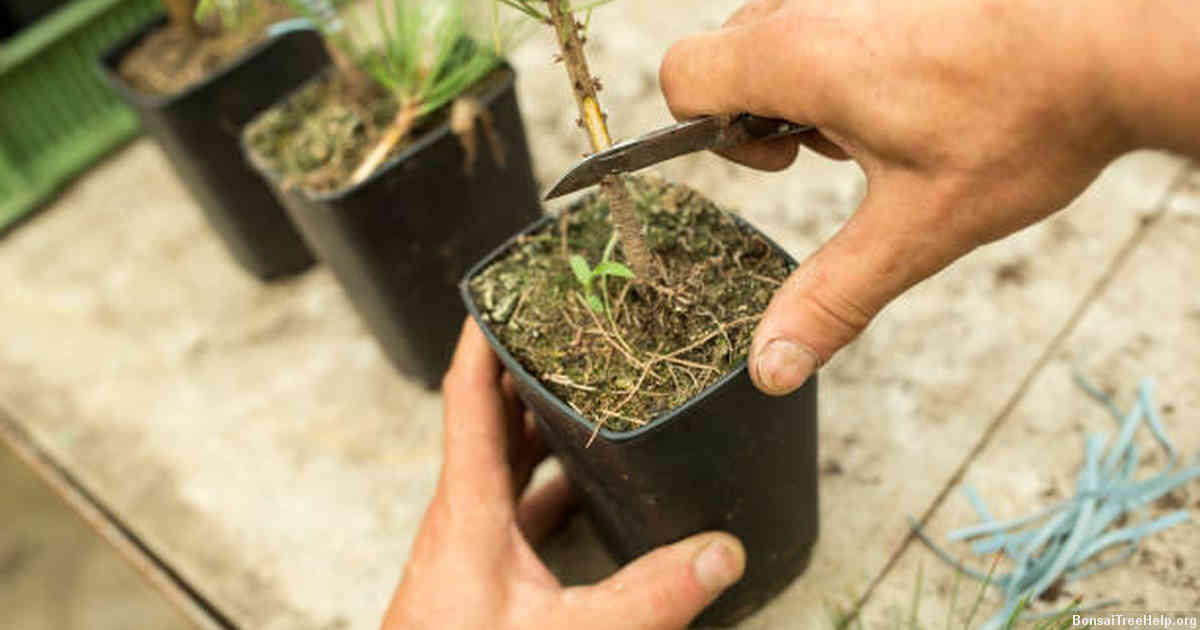
1. Begin with a young crassula ovata, commonly known as the money tree or jade plant. Trim off the lower branches and leaves to encourage lateral branching and a fuller canopy.
2. Plant your crassula in pre-made bonsai soil, which has better drainage than regular potting soil. Be sure to use a container that is shallow but wide enough to accommodate the root system of your plant.
3. Water lightly every few days and keep temperatures between 60°F and 80°F, allowing the top layer of soil to dry out completely before watering again. Prune back any outgrowth using sharp pruning shears; this will stimulate backbudding, allowing your bonsai’s growth to take shape into an attractive composition over time.
Contents:
- I. Introduction
- II. Choosing the Right Crassula Species
- III. Preparing Pot and Soil for Bonsai Cultivation
- IV. Training Techniques for Developing Bonsai Shape
- V. Pruning and Maintenance of Crassula Bonsai
- VI. Fertilizing and Watering Tips
- VII. Troubleshooting Common Problems in Growing Crassula Bonsai
I. Introduction
Crafting a crassula bonsai can be an enjoyable and rewarding activity for any green thumb. A crassula bonsai, also known as jade tree, is a type of succulent that lends itself well to being shaped into a miniature tree form. With proper care and styling methods, one can create their own unique living artwork with spectacular results.
The key to cultivating a beautiful crassula bonsai lies in understanding its natural growth habits. The first step should always be researching the species’ preferences – things like temperature and humidity levels, lighting requirements, water frequency and nutrient needs. Knowing these details will allow you to provide it with the best possible environment in which to thrive while allowing you to craft your design intentions more effectively.
Once the basics are taken care of, selecting suitable containers and potting mixes is essential for successful cultivation. Utilizing shallow containers will facilitate drainage yet help maintain moisture levels for optimal health; specialty succulent potting soils or homemade mixes are also recommended for better performance over generic soilless mixtures found at most stores. Consider adding other decorative elements such as driftwood pieces or rocks for further aesthetic appeal if desired.
II. Choosing the Right Crassula Species
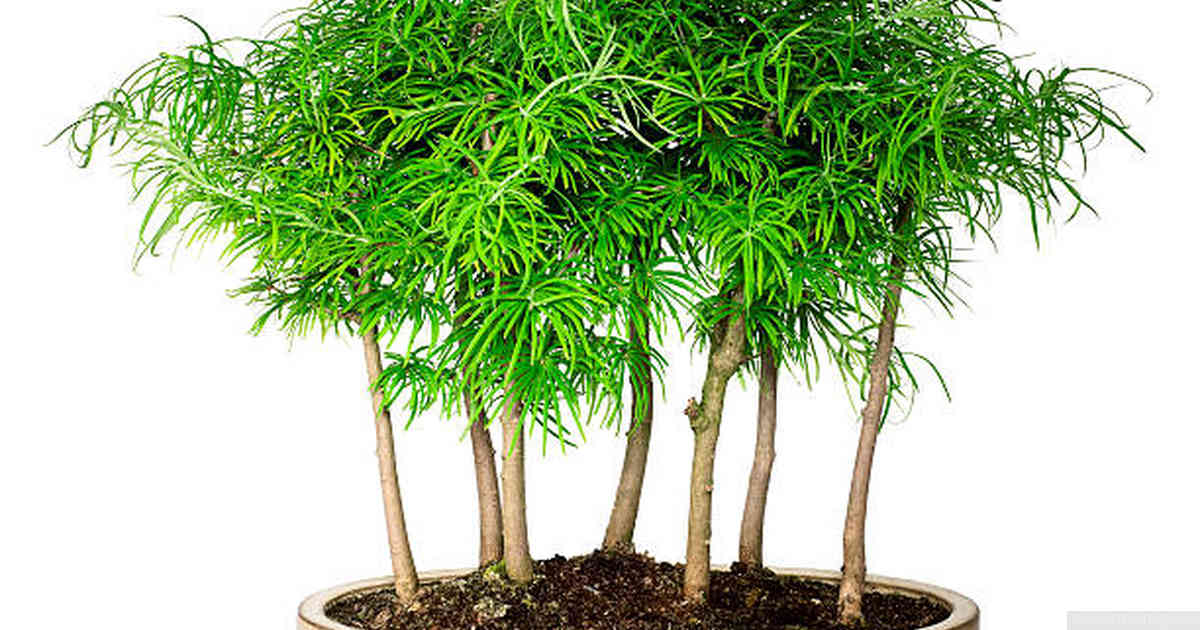
Creating a crassula bonsai requires careful selection of the right species for the shape and look desired. Crassulas come in various sizes, shapes, and colors, so it can be hard to know where to start. When cultivating a bonsai from scratch, choosing a smaller variety of crassula is preferable. These varieties are native to South Africa and include species such as ‘Campfire’, ‘Gollum’, and ‘Hobbit’. They have small leaves that easily branch out when pruned frequently.
While selecting the crassula variety for your bonsai, consider how much sunlight it will get or if you prefer one with multiple shades of green or red foliage. The plant’s texture should also be taken into consideration; some plants tend to grow more quickly than others. Pruning is an important aspect of creating the ideal design with these plants; they require frequent trimming back so their shape remains well-defined over time. In addition to this, cutting off dead leaves at regular intervals will create density within the structure instead of having thin spots throughout the canopy.
The importance of soil quality should not be overlooked when it comes to crafting a beautiful crassula bonsai – good drainage is essential in order for roots not to rot away too quickly due to excess water retention in dense soils. A balanced mix containing organic material and mineral particles provides adequate nutrition while allowing air circulation around each individual root system. With proper care involving pruning, light requirements met and good soil moisture consistency achieved regularly, any type of crassula can flourish in its new environment as long as its specific needs are met during every step along the way towards building your own masterpiece.
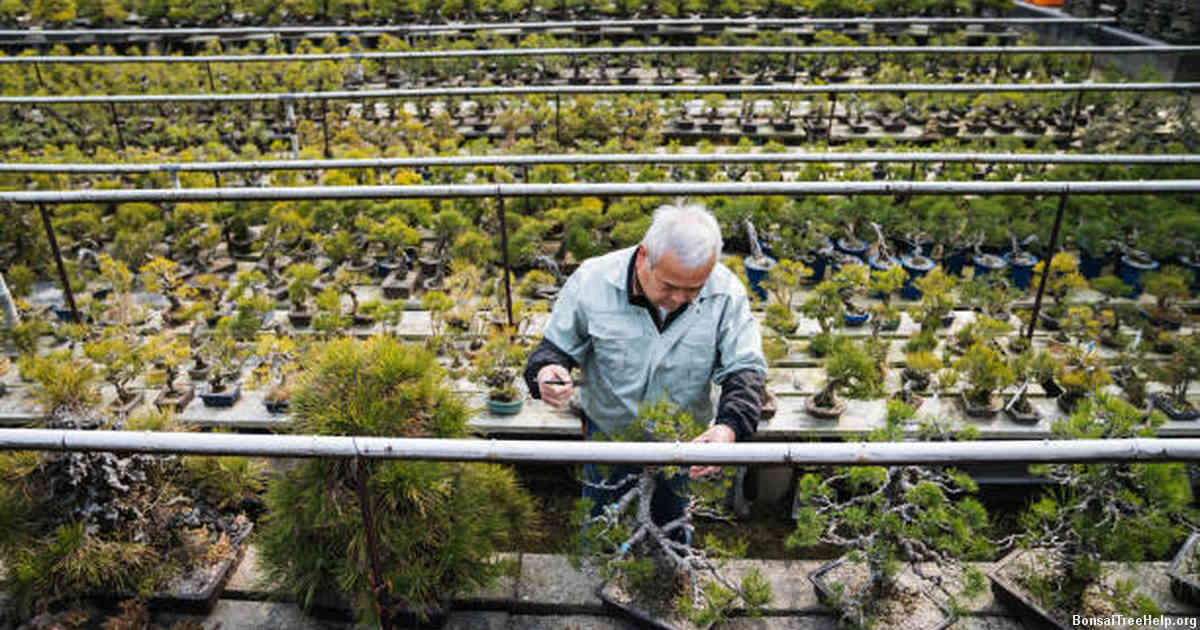
III. Preparing Pot and Soil for Bonsai Cultivation
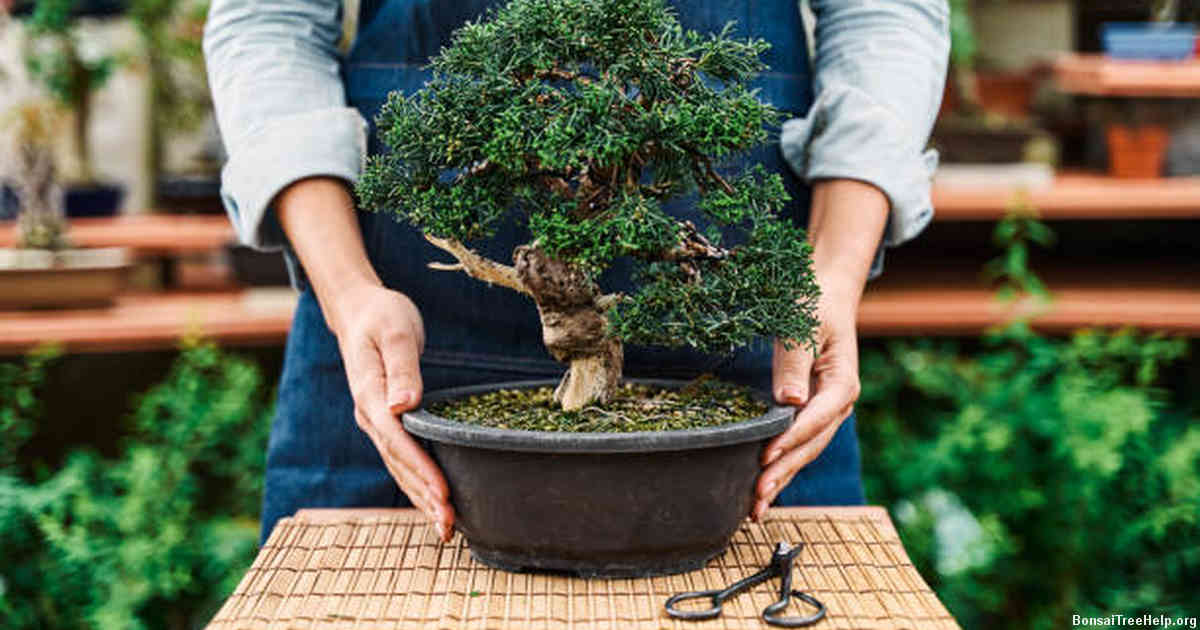
Having the right pot and soil is essential to cultivating a successful crassula bonsai. A suitable container should be shallow, as too large of a pot might result in stunted growth. A rectangular or oval shape works best, though any type can do. The size of your plant should be taken into consideration when selecting a pot; choose one that allows for growth but does not take up much space.
The soil you use for your crassula bonsai should be aerated and porous, helping water to drain quickly after watering and providing enough oxygen to the roots. This will also prevent water from pooling at the bottom of the pot which could lead to root rot. Suitable soils include those containing organic matter such as peat moss, composted bark, and perlite, which all help in retaining moisture without becoming water-logged. These types of soils provide nutrients and an ideal growing environment for your plant’s roots. To ensure drainage is maximized, some experts recommend adding a layer of sand or gravel on top before filling with soil mix. This helps keep any excess water away from the base of the pot where it could cause damage to your crassula bonsai’s delicate roots system.
IV. Training Techniques for Developing Bonsai Shape
Once a Crassula Bonsai tree has been planted, there are several techniques that can be employed to help shape it into a bonsai. When carrying out any training, it is important to ensure the process is done slowly and cautiously as this will cause less stress on the plant.
Pruning or trimming the branches of a Crassula Bonsai encourages its growth and helps bring out its desired form. A pair of scissors or small shears should be used to cut off dead leaves and stems close to where they join with other branches of the tree, being careful not to create holes in the foliage. Depending on how severe of a reshaping is wanted for your bonsai, up to one-third of all its branches may need cutting away during pruning sessions.
Another technique used for shaping Bonsais is wiring which involves using aluminum wire around specific branches to guide them into new directions such as downwards or upwards depending on what part of your bonsai you’re working on. As opposed to pruning, wiring should only be done once every few weeks because placing too much tension on young shoots can lead them break apart from their trunks if left unattended. Also, wires must always be removed after they’ve served their purpose since they restrict sap circulation which can damage roots over time if kept in place too long.
Finally creative gardeners may also use interesting props such as figures and rocks near their bonsais when seeking particular designs as these objects influence how plants grow naturally alongside them by orientating themselves in unique ways due their physical surroundings.
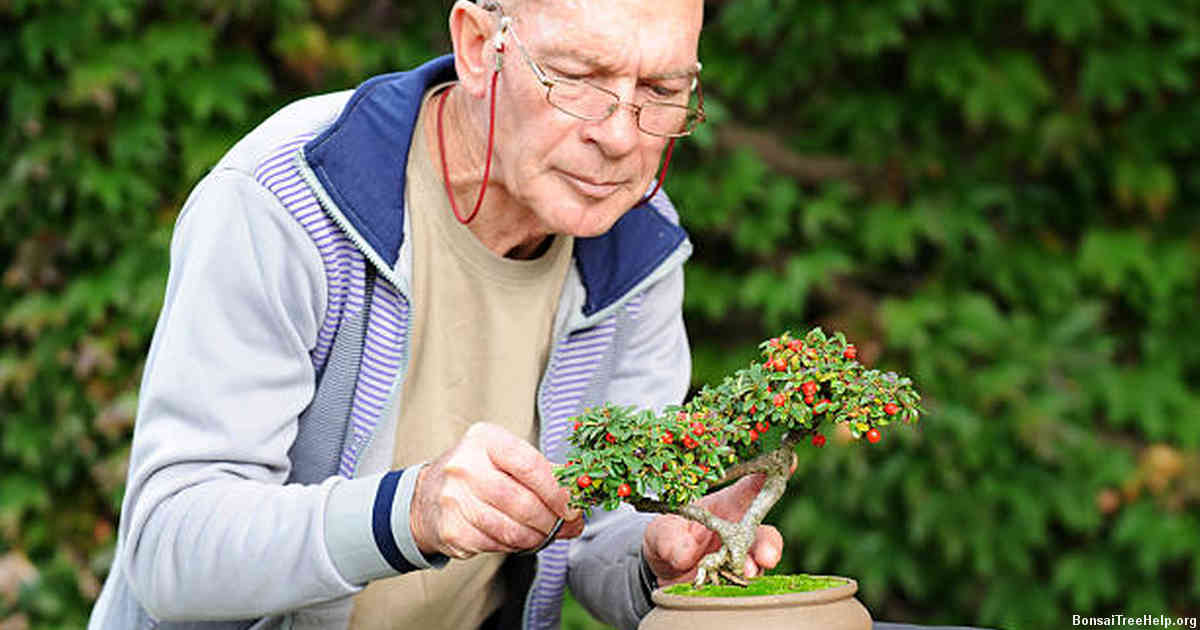
V. Pruning and Maintenance of Crassula Bonsai
Pruning and maintenance of a crassula bonsai tree is key in order to ensure its health and longevity. To get started, it’s important to understand the natural shape of your crassula bonsai tree, as trimming off branches or leaves that are an integral part of that shape could weaken or damage your plant. When it comes to pruning, one should always use sharp scissors or shears to avoid tearing leaves which can leave the plant exposed to disease. Be sure not to cut off more than 1/4 of any branch at once as this will shock the tree and possibly injure it if done too aggressively.
Caring for your crassula bonsai means proper light exposure, as this species does best with direct sunlight for about 6-8 hours a day during summer months. However, take caution during intense periods of sun exposure by using curtains or blinds – too much direct light can lead to burned foliage. Proper watering is essential in keeping your crassula healthy; they require frequent watering but do not tolerate standing water around their roots so be sure you have draining soil when planting them in containers and ensure good drainage when repotting.
Fertilizing these trees every two weeks between spring and fall will promote strong growth while also adding beauty. A balanced liquid fertilizer is recommended since this type releases its nutrients slowly over time – high concentrations can burn delicate plant parts like small leaves or immature bark. With consistent care and attention you’ll be rewarded with a stunning long-living specimen that stands out among other bonsais!
VI. Fertilizing and Watering Tips
Proper fertilization and watering are essential for the success of any bonsai. The right combination of food, water and other elements will help your crassula bonsai stay strong and healthy. To properly feed a crassula bonsai, you’ll need to use a balanced liquid fertilizer with macro-nutrients specially formulated for bonsais. These special formulas usually consist of nitrogen, potassium, iron and magnesium in small amounts. Fertilizing should be done every two weeks during spring and summer months while frequency can be reduced to once per month during winter months. It is important not to overdo it as excessive fertilizer can do more harm than good by causing nutrient buildup in the soil which may lead to root burn or other toxicities.
When it comes to watering, shallow root systems like those found in crassulas require careful attention as they are prone to drying out quickly due to their surface area relative to their volume of soil around them. Overwatering will likely result in root rot so you must ensure that the soil does not become soggy from excess moisture. Check how dry your soil is before deciding when or if you need to water by sticking your finger one inch into the potting medium – it should feel moist but not wet if you have given enough irrigation recently. Check humidity levels using a humidity meter because this could also affect whether or not you need additional waterings at certain times. With these few tips in mind, following proper fertilizing and watering practices can keep your Crassula Bonsai looking its best.
VII. Troubleshooting Common Problems in Growing Crassula Bonsai
Growing a crassula bonsai can sometimes be a tricky process, and troubleshooting problems is inevitable. The most common issue when growing a crassula bonsai is overwatering. It’s important to ensure that the soil is draining properly, and water sparingly every two weeks or so. Underwatering can also be an issue – make sure to check the soil occasionally by poking your finger into it to feel for moisture. Also check your plant’s leaves often; if they appear pale yellow or brittle, you may need to adjust the watering schedule accordingly.
The second most common problem with crassula bonsai are pests such as aphids or mealybugs. If you spot any of these on your plant, immediately remove them using a cotton swab soaked in rubbing alcohol and mist down the plant with neem oil insecticide once every three days until no further pests are spotted. It’s recommended to isolate the affected area from other plants while treating it to avoid spreading any infestation further.
Improper fertilization can have lasting effects on both flowering and growth of crassula bonsai trees. Make sure not use too much fertilizer at one time as this can burn root systems and stunt leaf production; instead opt for slow release pellets meant specifically for indoor houseplants or succulents like cacti which often contain lower levels of nitrogen than other fertilizers making them safer for young saplings. Fertilizing should only occur during active growth periods (generally springtime), about twice each year depending on specific tree requirements – always double-check before adding any additional nutrients.
Leave a Reply