Forming the pot is the first step in making ceramic bonsai pots. Start by shaping clay into a cylinder with your hands, adding more layers of clay as needed until you have reached the desired height and width of the bonsai pot. After forming the walls of your pot, create a flat base using a wooden paddle or other tool. Use a variety of metal and/or wood sculpting tools to add texture and shape to the exterior surfaces of your pot.
Contents:
- Choosing the Right Clay for Your Ceramic Bonsai Pot
- Basic Techniques: Pinching and Coiling Your Pot from Scratch
- Decorating with Glazes, Stencils, and Other Materials
- Firing Your Pot in a Kiln: Tips for Success
- Trimming and Sanding Your Pot to Achieve the Perfect Shape
- Creating Drainage Holes and Adding Soil
- Finishing Touches: Tying It All Together with a Stylish Display
Once you are satisfied with the shape and design of your bonsai pot, it’s time to fire it in a kiln at roughly 1,200-1,400 degrees Fahrenheit for 12–14 hours depending on its size and thickness. This will allow moisture from within the clay to be removed from the pieces so that glazing can occur later in this process.
After firing, apply several coats of ceramic glaze before baking once again for several hours at temperatures just below where it was fired previously. Allow your creation to cool completely after baking before finishing off any fine details you may choose with paint or additional mediums if desired. You now have created an original one-of-a-kind ceramic bonsai pot.
Choosing the Right Clay for Your Ceramic Bonsai Pot
Working with clay for ceramic bonsai pots can seem daunting, but it is a rewarding task if you take the time to research and learn. When selecting a clay, there are certain factors to consider that will help ensure success. The type of clay you select will determine what kind of pot your final product will become. Clay comes in many different forms from air-dry types to kiln fired.
The first step is deciding the desired outcome for your ceramic pot; this includes its durability and color when finished. Once the goal has been set, it is important to select an appropriate clay type with features that meet these expectations. Terra cotta clays give off a reddish-brown hue and usually require only low fire kilns or no firing at all if they are meant as display pieces rather than functional objects like planters or dishes. Porcelain, on the other hand, needs higher temperatures since it requires more heat to mature the material so it won’t break easily over time – making them great for using outdoors where temperatures may vary throughout the seasons. It’s also known for its pure white color which could make any bonsai look stunning.
Clay body selection ultimately depends on your own preferences and project goals so don’t be afraid to experiment until you find a combination that works best for you. Don’t forget about essential glazes too – they add an extra layer of protection against moisture absorption, making your final product stronger and longer lasting. With some hard work and creative experimentation you can craft beautiful pots for years to come!
Basic Techniques: Pinching and Coiling Your Pot from Scratch
Creating a bonsai pot from scratch requires more work than selecting one from an existing supply, but it can be immensely rewarding. With some basic knowledge of ceramic arts and the right materials, you’ll have the freedom to customize your pot and create exactly what you envision. The most common ways for beginners to make their own pots are through pinching and coiling methods.
The pinching method starts with rolling out a lump of clay into a flat sheet. You then take that sheet and use your fingers or tools to pinch the sides upward until it forms the desired shape; careful manipulation allows for intricate detail. This process must be repeated until you reach a satisfactory height before attaching any bases or feet if necessary. While this is one of the simplest approaches, getting uniformity in wall thickness throughout is difficult and may require previous experience with ceramics or thorough practice with various tools.
The coil-building method follows similarly by beginning with a round lump of clay rolled out on a flat surface which is then progressively built up around itself as you roll out long coils which join together at their edges – almost like slices of wood piecing together along its circumference or an abacus strung with beads stacked on top of each other – they are gently smoothed until everything blends together into one continuous pot form without seams showing. A similar technique can also be used for sculpting animals or figures as well as vases that draw attention for their unique shapes and proportions.
Once both techniques are applied successfully, pieces must go through firing process which transforms them from porous clay objects into hard ceramics that will last generations when cared for properly – this final step in essence makes it possible to display these works anywhere since they will no longer absorb moisture easily nor chip away easily due to external forces such as wind pressure.
Decorating with Glazes, Stencils, and Other Materials
To embellish your homemade bonsai pot, you can choose from a variety of materials to decorate it with. The most popular options are glazes and paint, which can be applied in an array of ways. Whether you prefer simple brush strokes or intricate stencil designs, creating unique works of art on your ceramic pots is easy and fun.
When baking the glazed pottery in a kiln, keep in mind that different types of glazes often have different firing temperatures and time frames for peak performance. Keep notes when experimenting with new recipes so you know how to achieve the desired result in future creations. Moreover, if you want to go above and beyond with added details such as gold lustre or opal accents, opt for specialty paints that are formulated to fire at high temperatures without cracking or bubbling.
To really take your pots up a notch, get creative by mixing clay body colors before shaping them into bonsai containers – this will bring more depth and dimension to your finished design. For example by blending white clay with red iron oxide results in pink colored pots which gives them an extra touch of character. You can also mix other stoneware elements such as sandstone or quartz into the clay mix for additional textural interest like flecks within the pot’s walls that reflect light differently when moved around indoors or outdoors.
Firing Your Pot in a Kiln: Tips for Success
When crafting a ceramic bonsai pot, firing is often the final step to achieving your desired results. Without proper technique, though, the heat from your kiln can potentially warp or crack your pot. Thankfully, there are simple steps you can take to ensure that you get optimal results each time you fire a bonsai pot in a kiln.
One of the most important tips for success with any firing project is ensuring that your kiln is at the proper temperature before loading it up with pots. Investing in an accurate thermometer will help tremendously; when set correctly, this device will tell you both when to raise and lower the temperature inside your kiln as needed. Make sure to follow all safety protocols related to using your device properly.
Properly placing and orientating each piece within a kiln is also key if one wishes to achieve favorable firing results with their ceramic bonsai pots. Since space within a loaded chamber may be limited depending on size and shape of items fired, minimizing potential contact between pieces may reduce risk of cracking due to thermal shock during heating phases or uneven pressure after cooling down. Placing spacers between delicate objects during programming sequences may also help minimize risk of breaking due walls expanding unexpectedly due temperature changes inside the apparatus.
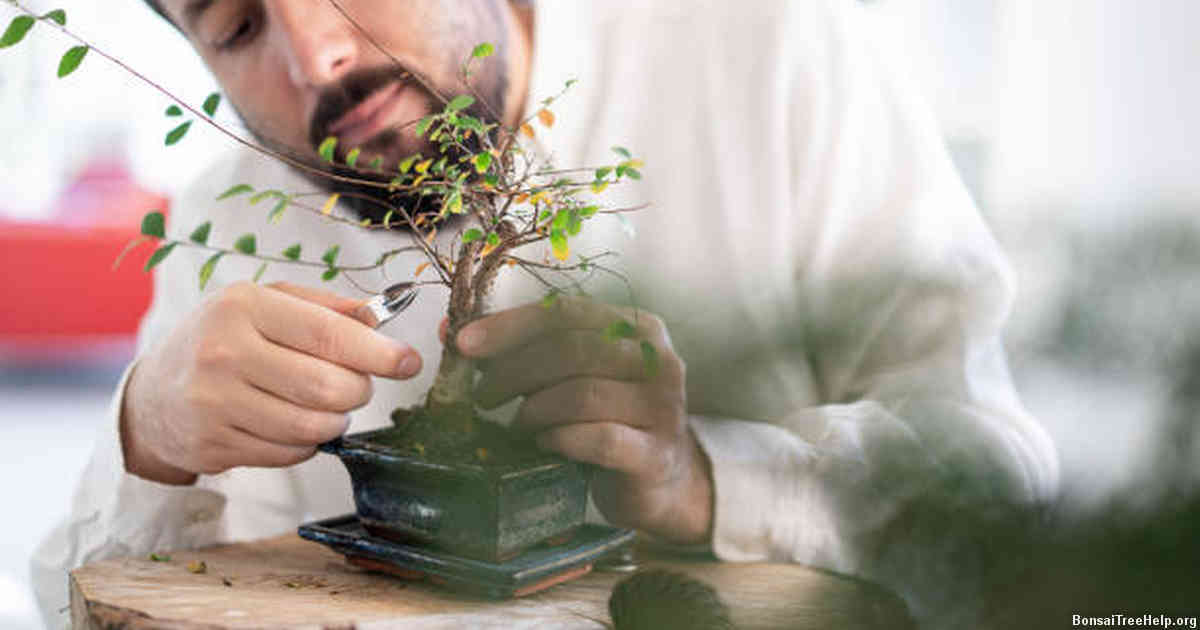
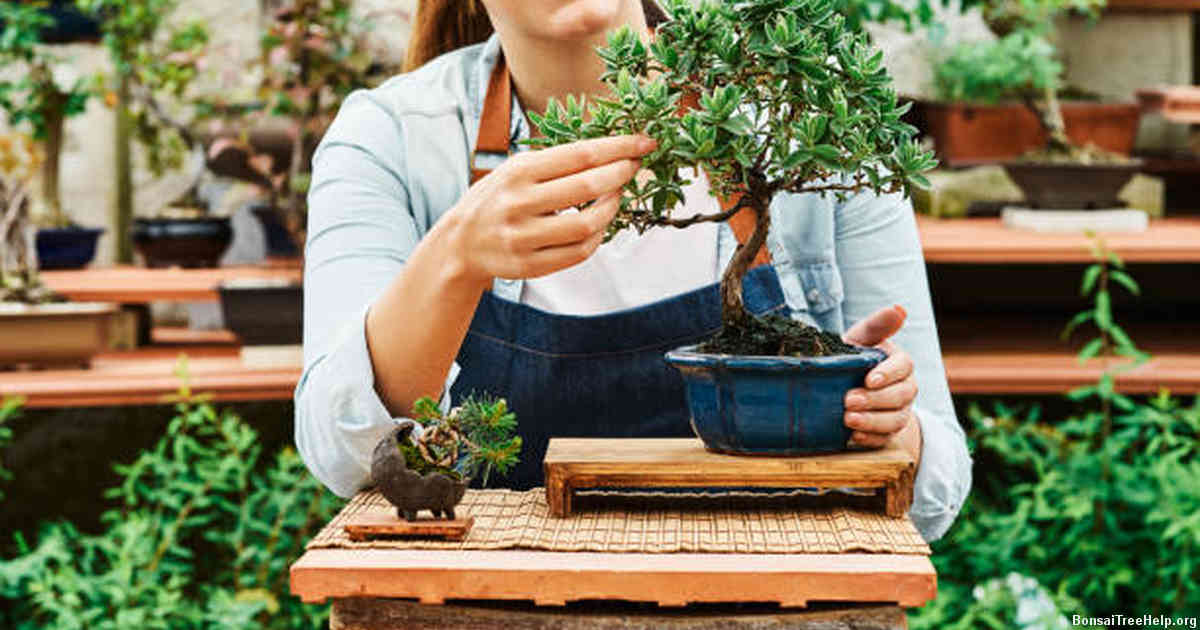
Trimming and Sanding Your Pot to Achieve the Perfect Shape
Creating the perfect ceramic bonsai pot entails more than just shaping and drying clay. After forming the basic shape of your pot, it’s time to refine its structure through trimming and sanding. The goal is to remove excess material from the outside surface until you achieve a desirable shape that fits perfectly with the style of your tree.
Trimming involves cutting off pieces of wet clay in order to achieve a finer shape for your bonsai pot. You can use wire or metal blades for this purpose; however, it’s important to be gentle and take care not to damage the overall structure too much as rough cuts may cause permanent deformations. Once you have shaped each side evenly with clean cut lines, move on to sanding away any remaining imperfections from the wet surface.
Sandpaper helps soften and even out any remaining bumps or scratches while also giving your finished product a smoother texture. Start by using coarse grits before graduating onto finer grains until you’ve achieved satisfactory results in terms of texture and smoothness on both sides of your pot. With a few simple tools, some patience and skillful craftsmanship, you’ll soon have a custom-made ceramic bonsai vessel ready for planting.
Creating Drainage Holes and Adding Soil
For a successful bonsai project, it is important to ensure your ceramic pots have good drainage. When creating holes for the base of the pot, drill at least three or four small 1/8-inch diameter holes around the perimeter of the pot. The more you drill, the better – because it will allow for better aeration and draining. Ensure that these holes are angled downwards so that any water coming out does not pool inside but can instead freely run off.
In order to fill your ceramic pot with soil, be sure to get a proper substrate mix specifically meant for bonsai plants. These mixes contain ingredients such as gravel, coarse sand and clay particles which help in maintaining both moisture levels and texture – allowing adequate oxygen flow in order to let roots thrive. Depending on which type of tree you plan on planting into your bonsai pot, you may need either an acidic or neutral soil mix; be sure to research ahead before purchasing. Remember to pack down firmly after adding soil since this helps prevents roots from becoming uprooted later on.
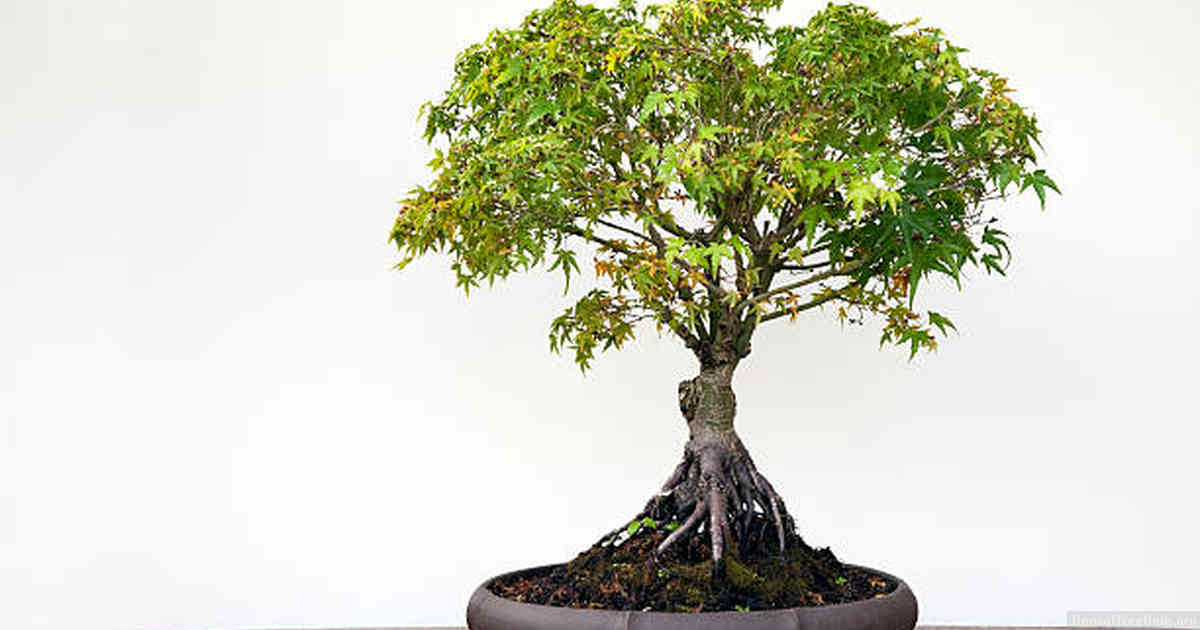
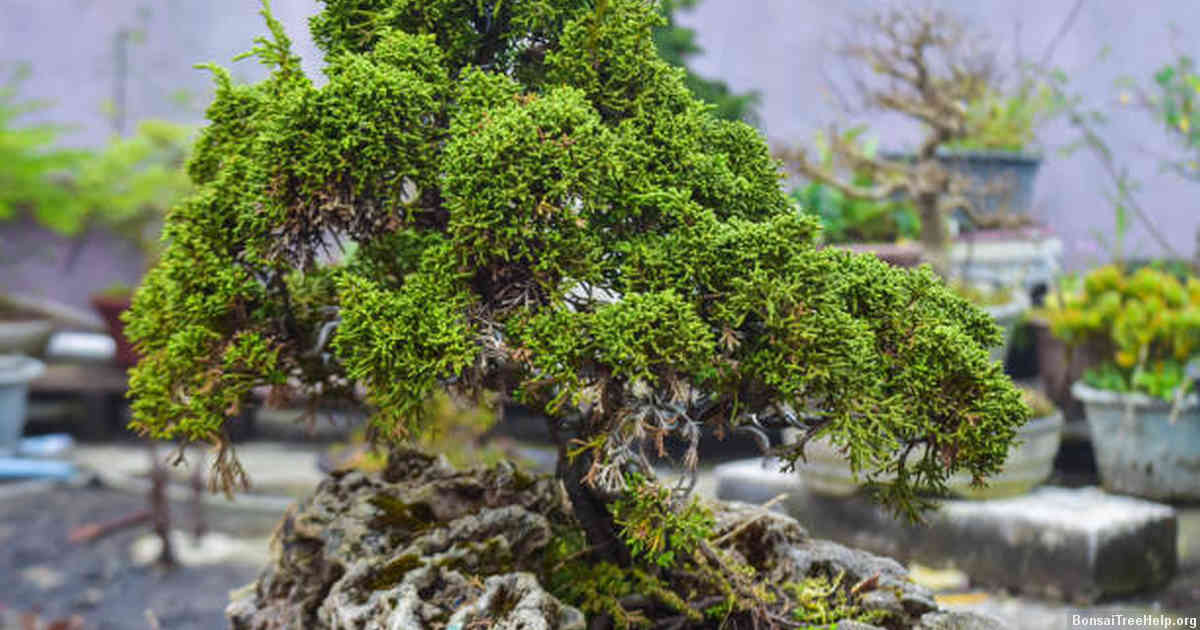
Finishing Touches: Tying It All Together with a Stylish Display
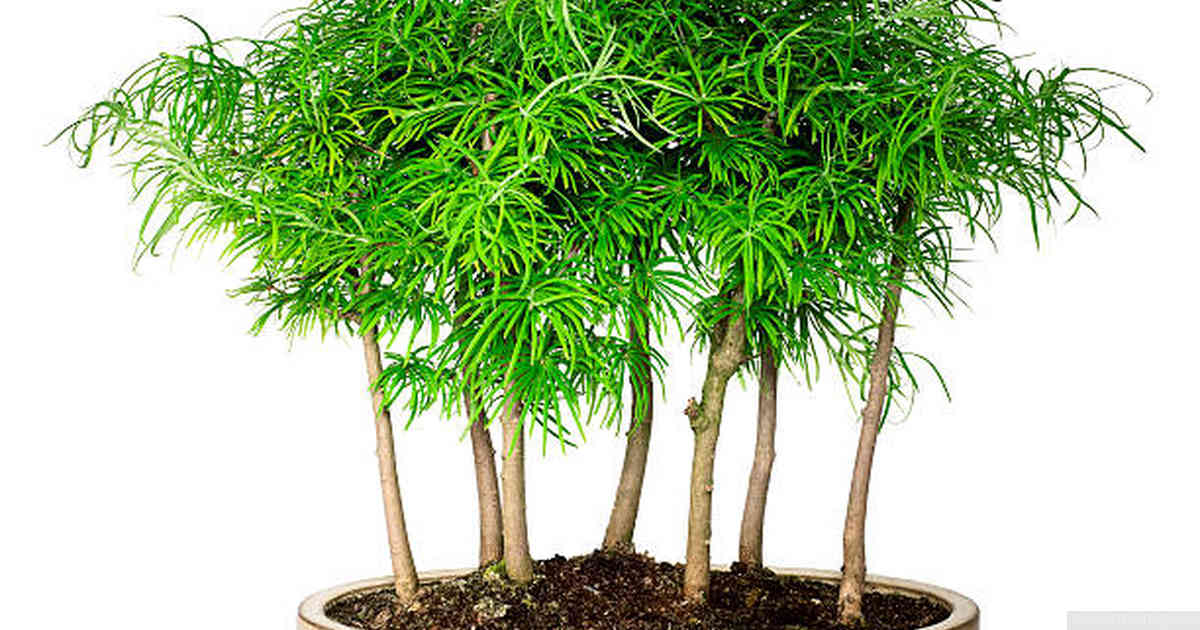
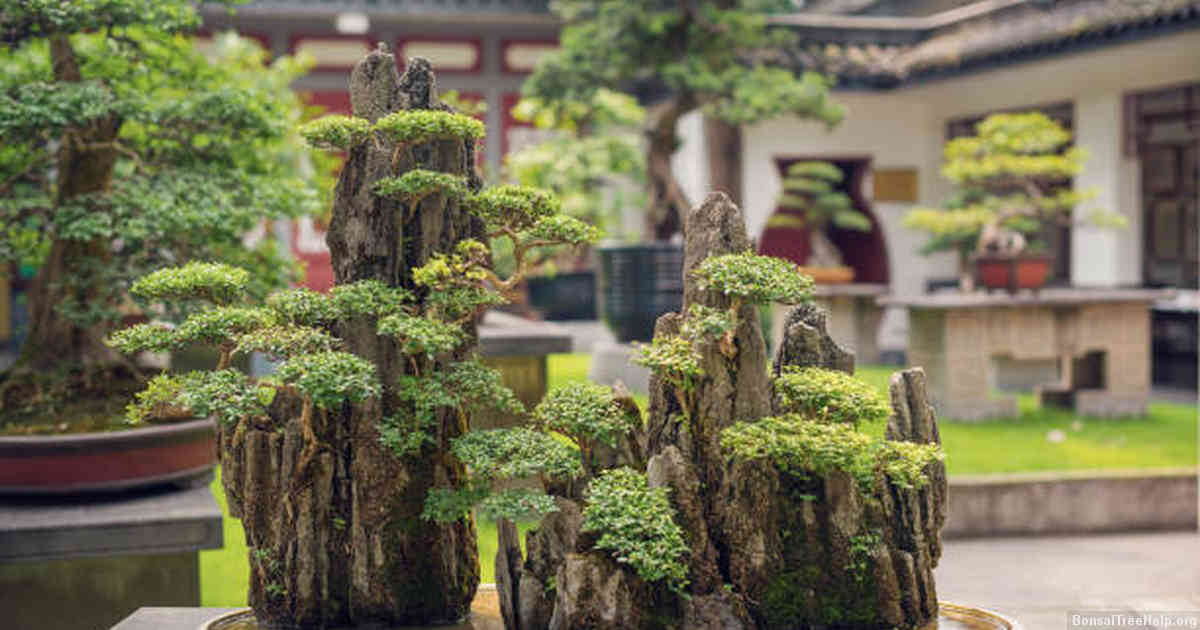
Once you’ve finished the hard work of crafting a ceramic bonsai pot, it’s time to make sure the overall aesthetic of your project is at its very best. To accomplish this, it’s helpful to employ some creative display tactics. For example, when making a single pot that stands on its own, consider surrounding it with vegetation or other organic materials in order to accentuate its beauty and uniqueness. If placing multiple pots together for an arrangement of sorts, try playing around with various heights and depths as well as patterns and textures so that every component stands out.
To create even more visual appeal, utilize props like statuettes or art pieces to set off individual elements while keeping them harmonized within the scene. If you’re displaying outdoor creations such as potted plants adorned by your pottery, try using colorful stones or gravel along pathways between each item. Further still, why not take advantage of natural lighting sources? Illuminating certain aspects from behind can make a stark contrast that highlights alluring accents that might otherwise get lost among the designs of a smaller bonsai pot.
In summation: by utilizing these finishing touches to display any completed bonsai pots tastefully yet thoughtfully crafted from ceramics-–it will be easy for admirers young and old alike to appreciate all the hard work you’ve put into this one-of-a-kind masterpiece.
Leave a Reply