The key to making items ‘hop’ into a bonsai pot is by creating an oscillating motion. The simplest way to do this is by attaching two rubber bands to the outside of the pot, one at the top and one at the bottom. Attach each end of both rubber bands to something nearby that will give them tension and allow them to bounce off it when pulled. Place your desired item onto the rim of the pot, then pull on both rubber bands causing them to move back and forth against either side of the pot, pushing it inwards until it hops inside.
Contents:
- Sizing and Choosing a Suitable Bonsai Pot
- Preparing the Soil Mixture for the Bonsai Potting
- Setting Up Drainage Holes in the Bonsai Pot
- Wiring the Tree into the Pot for Stability
- Positioning and Placing Rocks or Decorative Objects in the Pot
- Watering and Fertilizing the Bonsai Plant in the Pot
- Monitoring and Regular Maintenance of Your Hopping Bonsai Potted Plant
Sizing and Choosing a Suitable Bonsai Pot

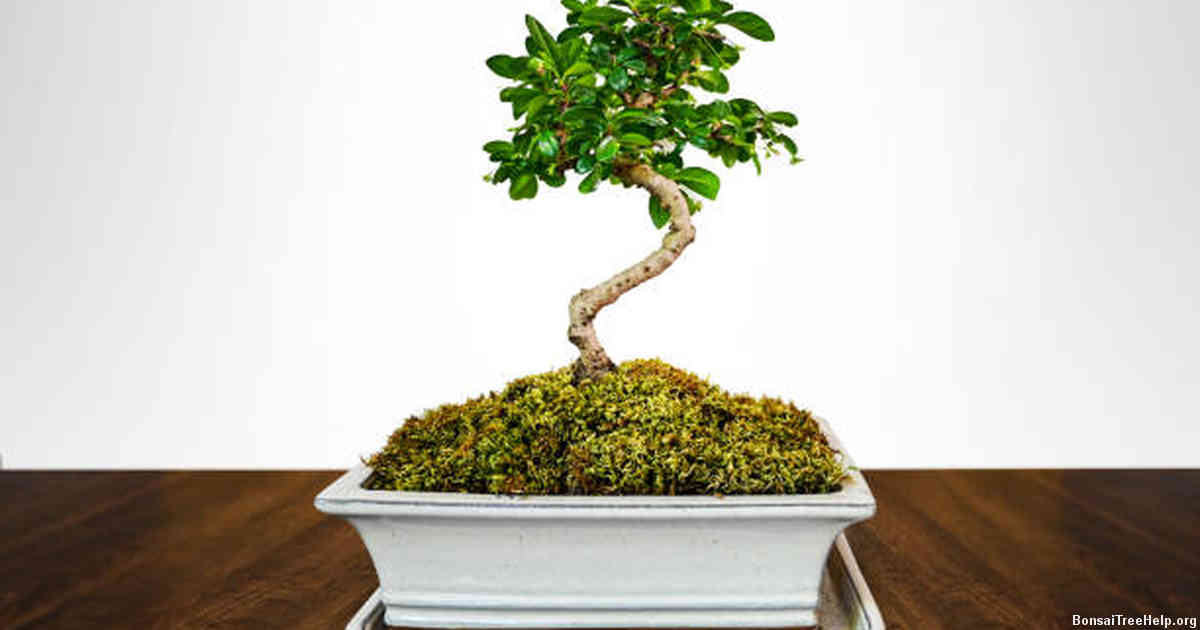
When selecting the right bonsai pot for a project, it is important to consider two main factors: size and style. Size will be dictated by the size of the plant or trees you want to put in it, while style can range from traditional to contemporary. As a general guideline, small bonsai pots should be used for smaller plants and larger bonsai pots for larger ones. Depending on your preference, you can choose between ceramic or plastic, as well as round or oval shaped varieties that best match your desired look. When picking out the appropriate size of bonsai pot for your project, take measurements of both the height and width of the plant and factor in any potential growth over time. The majority of standard sizes are usually around 4-5 inches in diameter with up to 10 inch depths available if needed. There are special shapes such as cone-like varieties designed specifically for miniature plants like certain ferns and herbs that need extra space at their roots due to rapid expansion when growing upwards.
Another important aspect to consider is drainage capabilities; most good quality containers come with holes at their base enabling excess water and moisture to drain away. This will help keep your soil healthy whilst reducing chances of molding or root rot during hot humid conditions which could damage your plants health over time. When finished with all necessary additions such as rocks or other decorative elements also ensure sufficient drainage through gaps left between them so air circulation is unrestricted throughout the pot creating an ideal environment for optimal growth and longevity for your beloved bonsai art piece.
Preparing the Soil Mixture for the Bonsai Potting
In order to successfully plant a hopping bonsai, the soil composition is just as important as the tree itself. A soil mixture should have an appropriate ratio of organic material and nutrients to create optimal growing conditions for the bonsai. If the soil mixture isn’t right, your hop bonsai will suffer from disease or may not produce flowers at all.
When creating a suitable soil mix for a hopping bonsai, it’s important to choose ingredients with structure that will hold its shape while still being able to absorb water, so it is best to combine clay-like materials such as sand or perlite with finer soil particles like peat moss. Smaller pieces of bark are also beneficial since they will add some depth of texture and provide drainage channels for excess water. Adding a few spoonfuls of fertilizer can help feed the roots and stimulate healthy growth in your Bonsai.
Once you’ve combined all these ingredients in equal proportions into one homogeneous blend, you’re ready for potting. The next step is filling up your hopping Bonsai container with this mixture and planting away – soon you’ll be able see how beautiful your little creation turns out!
Setting Up Drainage Holes in the Bonsai Pot
When it comes to bonsai potting, drainage is a key factor. Without proper drainage, the roots of the plants would be suffocated and suffer from root rot. To create adequate drainage holes in a bonsai pot, one will need a drill bit slightly larger than the desired hole size – and preferably made out of carbide steel. The first step is to prepare the space on the bottom or sides of the bonsai pot where you’d like to set up your draining holes. It is important that these spaces are pre-marked before drilling as this will help prevent breakage when making large holes on ceramic surfaces. Next, carefully place your drill bit onto each marked spot and start drilling gently until you reach your desired hole size or depth – then repeat for all other spots until complete.
One crucial factor to consider during this process is avoiding contact with any existing wiring inside the pot that may lead to accidents. By taking extra precautionary steps such as using electrical tape at any exposed wires, one can ensure safety throughout the entire duration of their project. Since clay pots usually require more careful handling during drilling it’s recommended that people make use of clamps or specialized holders designed for ceramic works in order to reduce risks associated with breakage due to mishandling during drilling processes.
Once all drainage holes have been successfully set up in your bonsai pot its important that they are adequately sealed – either through gluing cork discs on them or simply plugging them with sterilized gravels. This helps avoid dirt accumulation while still enabling water passages through those same areas when necessary.
Wiring the Tree into the Pot for Stability
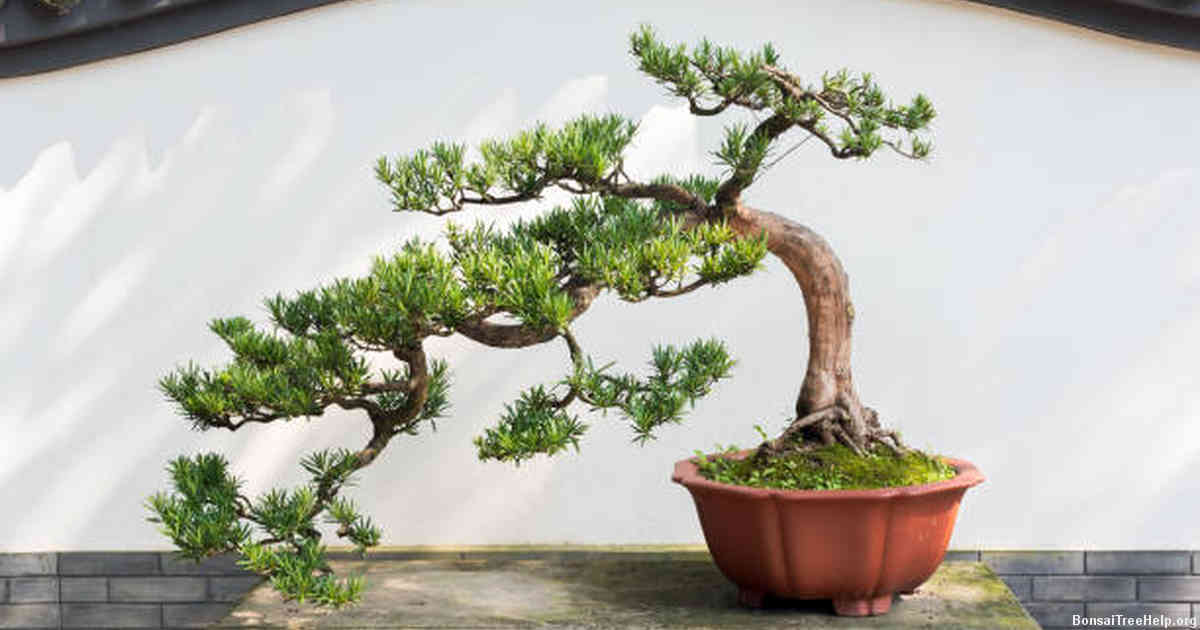
Putting your favorite bonsai tree into a hopping pot is no small feat. It requires some finesse and patience to wire the roots of the tree so that it stands firmly in the pot. With some preparation, however, any budding gardener can create a hopping bonsai display worthy of any professional horticulture presentation.
It is important to keep wires tight when wiring trees, but not so tight as to damage delicate woody tissue or impede growth. Begin by securing a short piece of wire at one edge of the root mass, looping through once before wrapping around the base of the trunk and back up again near where you started – this will help keep all parts tied together for easy maneuverability. Once done with this first wrap, begin wiring each root individually with slightly longer lengths of wire – allow plenty of slack between wraps to ensure none are pulling too tightly on any particular part of the root system. To complete this task, work slowly from one end to the other while making sure everything remains safely within its container boundaries; watch carefully that it does not slide downwards.
When finished wiring all components in place, position them nicely within their respective areas and turn it upside down onto its final resting position – voilà. A beautiful work of art awaits you: branches spread out like they are alive dancing around their permanent home in perfect harmony with nature. Now that your treasured companion has been successfully wired into place securely in its newly decorated pot home, there’s only one more thing left – show it off proudly!
Positioning and Placing Rocks or Decorative Objects in the Pot
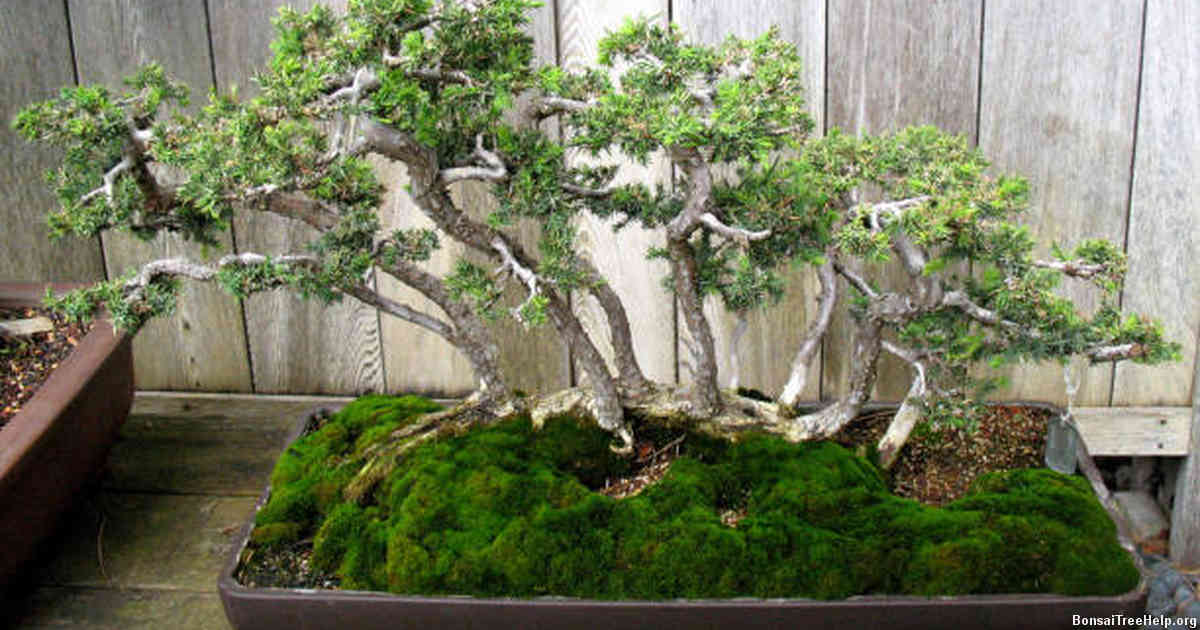
Careful positioning of rocks or decorative objects in a hopping bonsai pot can help to achieve a visually pleasing effect. The key is understanding the balance and harmony between large elements like rocks, with smaller accents of color or interest such as shells and pebbles. Achieving this look requires planning ahead and making sure that each element provides its own unique feel while also meshing with the other pieces you’ve chosen.
To add larger elements like rocks, start by considering the overall shape of your hopping bonsai pot – are there any curved edges or hollows where one might fit? Once you have some ideas for placement, take time to play around with moving them around until it feels right. In addition to size, weight should be taken into consideration when selecting rocks. Lighter pieces work well if they’re placed at higher levels in the pot, so as not to overwhelm what’s already present. It may also be helpful to group two or three heavier stones together for more stability once set within the soil mix.
Try adding accent pieces like driftwood, coral sandstone beads, flat river stones and shells to finish off your design aesthetic – these need only small pockets of space so experiment by lightly pushing them down into soil crevices throughout the arrangement for an organic yet orderly appearance. Remember that all parts must complement each other in order for your finished product to create visual harmony – there’s no correct way but do enjoy finding out what works best.
Watering and Fertilizing the Bonsai Plant in the Pot
To keep a bonsai plant in its hopping pot healthy and alive, there are some important steps that need to be taken. One of the most critical elements for successful bonsai care is watering and fertilizing.
When it comes to watering, the bonsai should never be left without water for too long, as this can lead to dehydration. It is best practice to water when the soil becomes dry by gently sprinkling lukewarm water over the surface of the soil until saturation. Ensuring that plenty of drainage holes in the bottom of your pot helps facilitate good air flow and allows for proper draining–another key element for keeping a happy plant.
Fertilization is also essential for helping a bonsai tree thrive; an appropriately mixed fertilizer applied at regular intervals will help provide nutrients and promote healthy growth while preventing chlorosis or yellowing of leaves due to inadequate nutrition. Make sure you follow product directions exactly to avoid any issues with over-fertilizing or under-fertilizing your beloved plant friend.
Monitoring and Regular Maintenance of Your Hopping Bonsai Potted Plant
The key to a hopping bonsai potted plant’s longevity lies in its regular maintenance. It is essential to monitor your hopping bonsai pot and take steps to provide it with the necessary nutrients, hydration, and sunlight as needed. Also, because of its size, you should check every couple of days to ensure that any soil or organic matter that may have collected around the surface hasn’t blocked off vital air circulation.
It’s important not to over-water or over-feed your hopper bonsai pot – this could lead to root rot and other issues. Instead, use an eyedropper-style water bottle with a long tip so that you can direct the flow directly into each pocket of soil in order for the most even distribution of water possible. The same goes for feeding: only add small amounts at regular intervals rather than dumping it all in one go. This will make sure that your mini-tree receives everything it needs without being overwhelmed by too much fertilizer at once.
Give some thought to where you are placing your potted plant; although hopping bonsais like plenty of light they should not be placed in direct sun as their delicate leaves can burn quickly under these conditions.
Leave a Reply