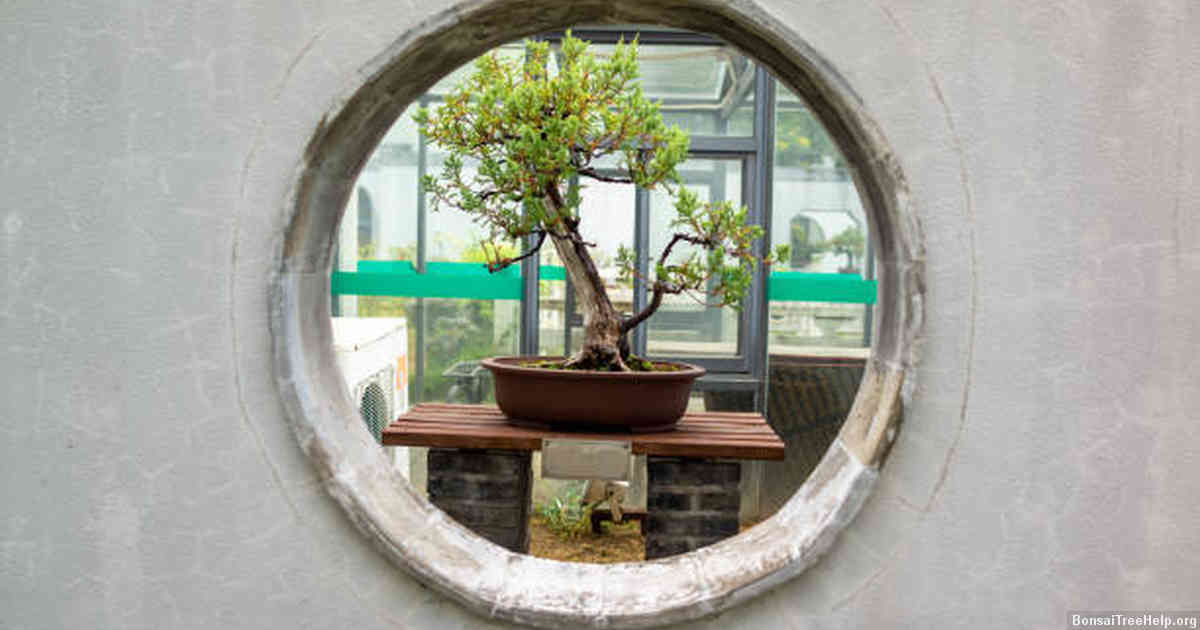
Slipping a bonsai is the art of delicately removing a part of a plant in order to create new growth. The process includes unwinding its roots from their source and repotting them into soil with proper drainage and fertilizing techniques. Here are the steps to slip pot a bonsai:
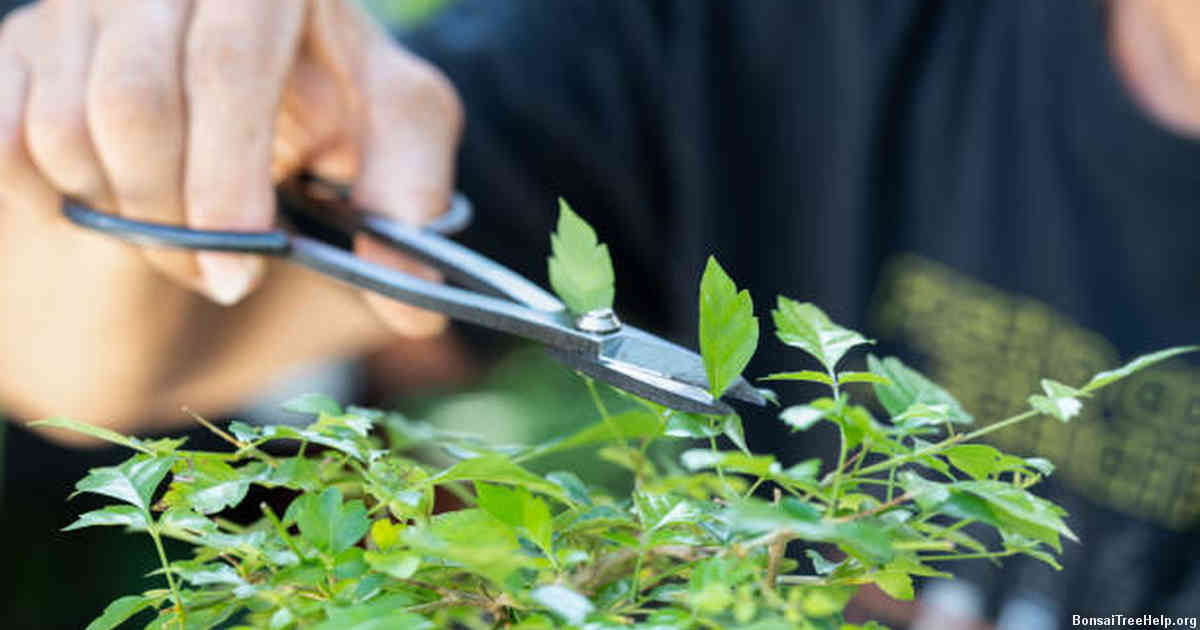
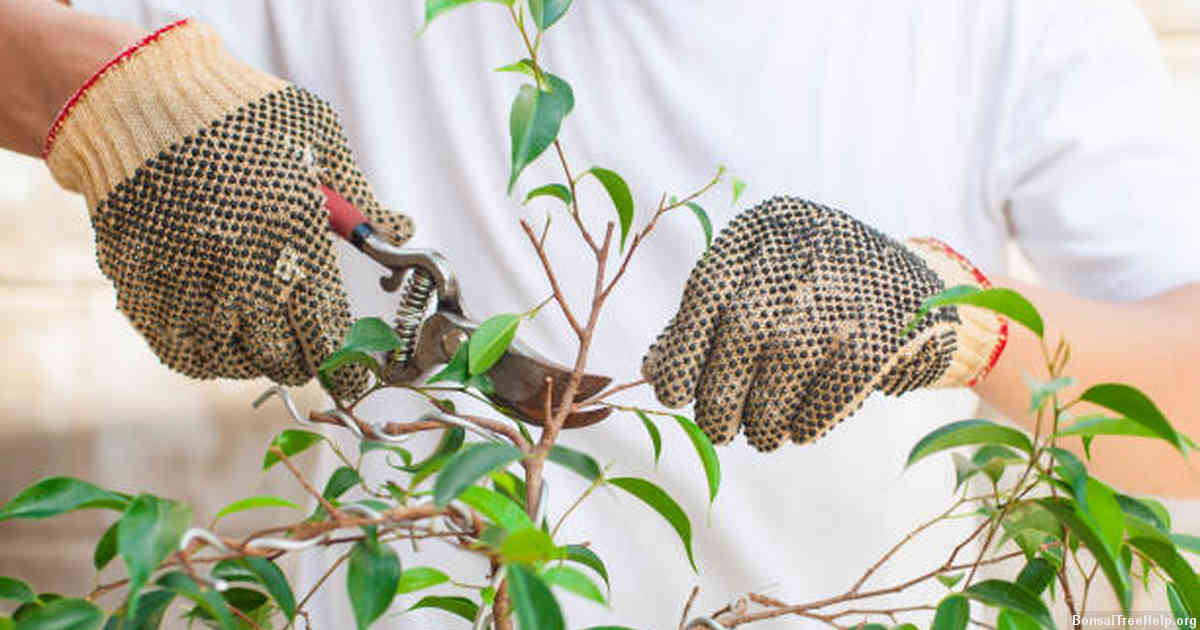
1. First, prune off any leaves or branches that will get in the way when slipping the bonsai out of its pot. Use specialized pruning shears for this task so as not to damage the delicate root system.
2. Next, carefully turn over your bonsai’s pot and gently tap it against a flat surface until you hear some cracking noises–these sounds mean that the soil has loosened up enough for you to be able to remove it from its container safely.
3. Once you have removed all traces of old soil, use tweezers or chopsticks to untangle any tightly wound roots before transferring them onto fresh growing medium such as gravel, moss, or sand mixed with good-quality soil specially formulated for bonsais.
4. Fill your newly purchased pot about halfway with well-draining substrate material and place your freshly slipped bonsai inside before topping off with more substrate at least two inches above its base–be sure to water regularly and make sure not to let it dry out too much.
Contents:
Preparing the Potting Materials
Preparing the potting materials for a bonsai is essential to its success. Pots with good drainage are crucial, and soil mixes must be tailored to individual species’ needs. It is wise to buy from reliable vendors or make your own mix, which may include organic compost, coconut coir, pumice stone and other components.
Similarly, tools should be sharp and of top-notch quality; cheap alternatives will not only wear quickly but can also damage the delicate tissue of the bonsai tree if used excessively. Suitable tools may vary depending on the complexity of work that needs to be done in preparation for repotting; examples include pruning scissors and shears as well as small wire cutters.
Once you have all the necessary supplies ready it is time to ensure safety by wearing appropriate clothing such as gloves or goggles when needed. Plants can harbor bacteria so proper hygiene practices are advised too. These initial steps will help create an ideal environment for a successful bonsai transplanting experience.
Getting the Bonsai Ready for Repotting
Slipping a bonsai out of its old pot is the first step in the repotting process. To ensure that this transition goes smoothly, it’s important to properly prepare the plant and its container before getting started.
First, water your bonsai tree thoroughly several hours or even days before you plan to repot it. This will reduce stress on the root system as well as make it easier for you to remove from its current pot without damaging either component. As part of this preparation stage, check for any visible signs of pests or disease so that you can treat them if needed – after all, one of the advantages of taking your bonsai out of its pot is so that you can inspect the roots and prune off any unhealthy ones during the process.
Be sure also to clean up any clinging soil particles prior to slipping out your bonsai. Start by gently pulling away excess dirt on or around the trunk before using a brush to finish cleaning off individual roots that may have become tangled together during growth – this will help prevent further entanglement when relocating into a new container. Taking these simple steps not only helps with aerating and organizing existing roots but also helps facilitate better drainage within each compartment afterwards as well.
Slipping and Removing the Bonsai from its Current Pot
When it comes to bonsai trees, the most important factor in producing a healthy and vibrant tree is proper potting. Slipping and removing a bonsai from its current container is an artform, as well as a science. It requires the right amount of pressure and gentleness so that you can extract your tree without damaging any of its roots or branches. The first step when preparing to slip a bonsai is to completely saturate the soil with water. This will help release any hardened dirt and make it easier to slide out the root ball. If there are major clumps attached to the root ball, use your finger tips or a small tool such as chopsticks to loosen up the soil so that they come apart easily. Afterward, place both hands around the base of your tree in order to cradle and support it while gently lifting the pot away from its soil bed.
While you are slipping out your bonsai, be sure not to pull on any exposed roots too hard because doing so could injure them or even kill your plant entirely. Keep an eye out for circling or girdling roots – these are roots which have grown in circles instead of radiating outward from their center point like normal – and separate them before re-potting into new soil as this will ensure proper growth for years down the line.
Preparing the New Pot for the Bonsai
Preparing the new pot for your bonsai is an essential part of successfully transplanting it. To start, you will need a pot that has good drainage. Look for pots with holes on the sides or bottom, as well as adequate space for root expansion and healthy growth. After selecting the appropriate size container, thoroughly clean it before use to avoid contaminants from entering the soil. Once cleaned, place mesh screening over each of the drainage holes at the bottom of your container – this will help to prevent soil loss when watering your tree.
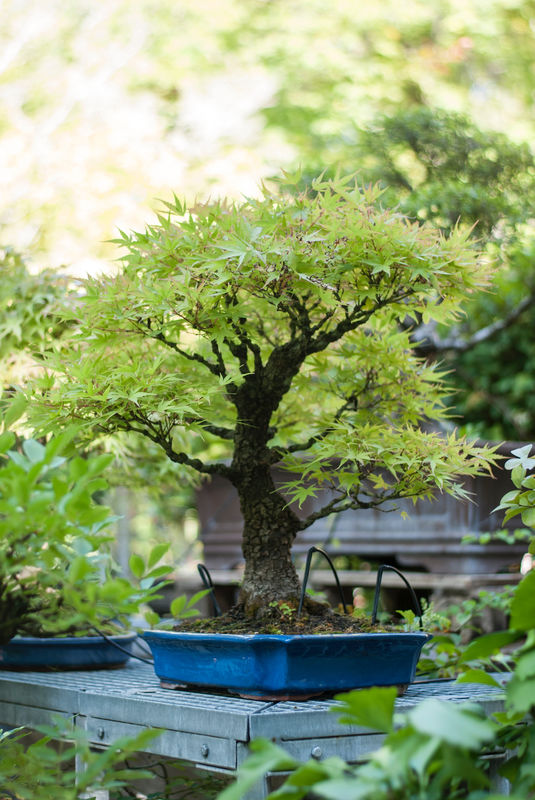
Next, line the base of your new pot with a layer of fine-grain gravel about two inches thick to improve overall aeration and drainage. This step also helps minimize potential root rot caused by water stagnation in dense soils. Finish off by adding an appropriate soil mix catered to both yourself and your bonsai’s needs – sandier mixes are suitable for most deciduous species while pottings mixes heavy in compost are preferred by some conifers such as junipers and pine varieties. Filling the rest of pot around 2/3 full should suffice when complete – but make sure there is enough room left at the top after planting so that you can apply mulch or moss without difficulty afterwards.
Placing the Bonsai into Its New Pot
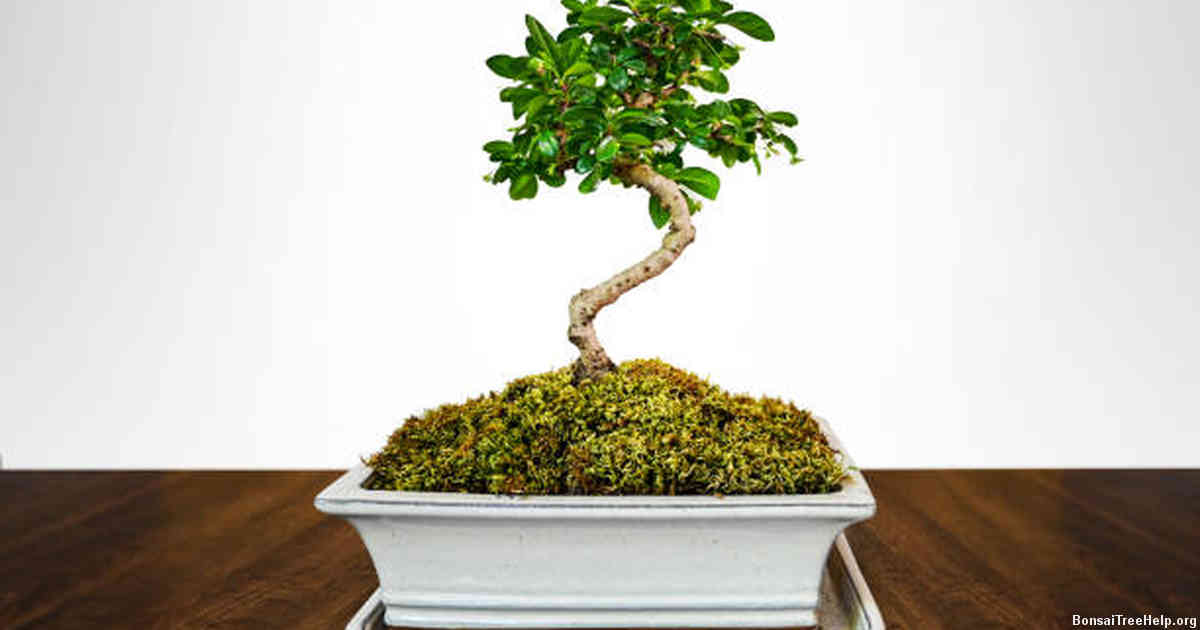
Once the bonsai tree has been selected, it’s time to repot it in its new home. Start by getting a pot that is the appropriate size and shape for the tree; this should be slightly larger than the existing one so that there is room for new soil and root growth. It’s important to make sure that you select an appropriate material as well – natural materials like clay or glazed porcelain are best suited to a bonsai due to their ability to maintain moisture while allowing oxygen flow through the walls of the pot. While artificial materials may look just as nice, they often lack these qualities needed for a successful bonsai planting experience.
Now that you have your new pot ready, it’s time to prepare the inside with soil mix created specifically for bonsai trees. This mix will usually contain some coarse sand and small chunks of bark so air can travel freely around roots, encouraging healthy growth. When adding soil into the newly-prepared pot, be sure not leave too much depth at once: only fill enough soil so that when placed in its correct position, none of the trunk or branches will be buried any deeper than before – otherwise this could cause significant harm or even death of your prized specimen over time. Secure your bonsai firmly within its new container using wire mesh or other secure holders.
When complete, you’ll need to give your re-potted bonsai lots of attention during this first month after transplanting: water generously but cautiously; fertilize regularly; prune dead or damaged branches where necessary; and protect from pests with organic methods like neem oil spray solutions rather than dangerous chemical sprays. With all these steps taken care of correctly, you’ll be well on your way towards achieving beautiful results from slip-potting your treasured companion.
Filling Up the Gaps with Soil Mix
Adding a suitable soil mix is an essential part of potting a bonsai. Selecting the correct type and amount of fill material can make all the difference when it comes to growing a healthy tree. By using the right soil mix, you will ensure that your bonsai absorbs enough water, nutrients and air.
When filling up gaps, many hobbyists suggest to not use garden dirt or regular topsoil as they often lack aeration and drainage capacity. Instead, you should opt for ready-made mixes specifically tailored towards bonsai trees or create your own custom blend with compost or leafmould. If this isn’t possible, combine small pebbles or sand in larger quantities with potting soil in order to facilitate drainage.
As always with planting projects – consistency is key. Before adding the final layer of potting mix pay attention to details such as even dispersal of fertilizers and firmness of substrate for optimal root growth. Remember that most bonsais need time and patience so don’t be discouraged if success isn’t immediate – there will be plenty of rewards down the road!
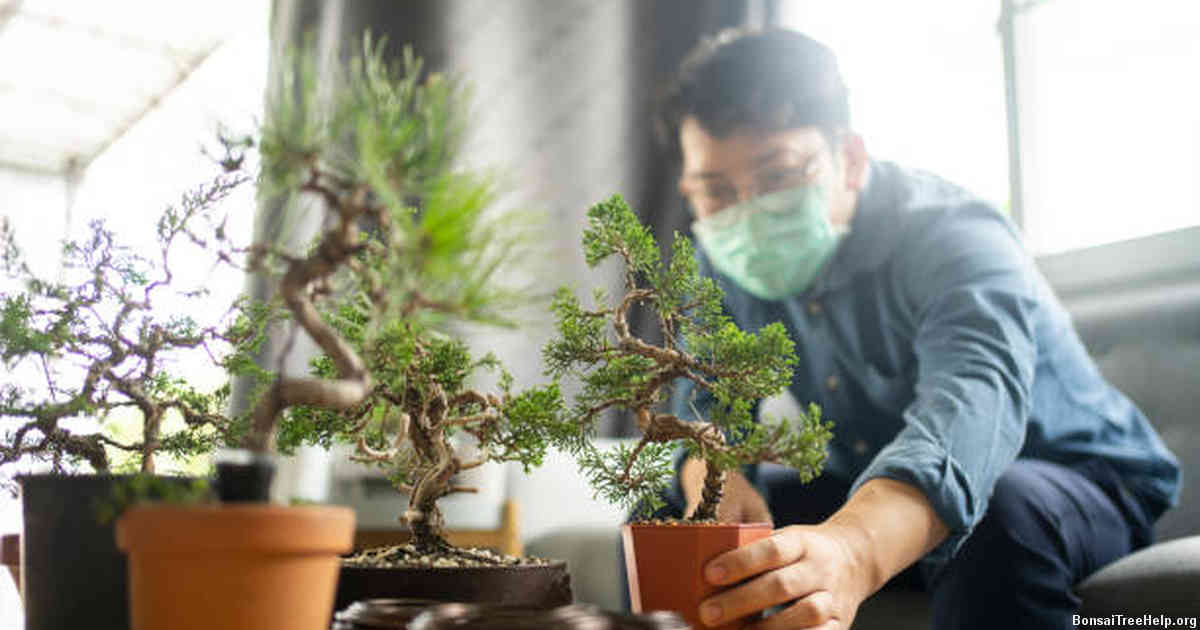
Caring for Your Newly Slipped-potted Bonsai

Caring for your recently slipped-potted bonsai requires special attention. To ensure its health and longevity, make sure to regularly water the roots of your tree, as they require more hydration than other parts of the plant. Keeping soil moist throughout is also important; however, it is best not to over-water to avoid any root rot or fungal diseases. In addition to a proper watering routine, you should provide your bonsai with adequate light exposure for it to grow properly–full sun or partial shade works best depending on what kind of tree you have.
Fertilizer is another crucial aspect of maintaining a healthy pot-slipped bonsai. It’s generally advisable that a diluted fertilizer solution be used every two weeks during active growing periods (spring and summer months). Be careful not to give too much fertilizer at once as this can burn or harm the roots–always follow package directions closely when feeding your bonsai.
Pruning and trimming are essential steps in taking care of a potted-slipped bonsai. This helps control growth direction and creates aesthetically pleasing shapes while keeping the tree miniature size in shape–use sharp scissors whenever possible when cutting branches back by following natural curves of existing foliage lines. Having someone experienced help with shaping will produce desirable results more quickly.
Leave a Reply