The best time to repot a boxwood bonsai is in early spring or late winter, when the tree has gone dormant and new growth is just beginning. Repotting during this period ensures that your bonsai will have enough energy reserves to properly recover from the transition. When repotting, it’s important to remove any dead roots and replace them with fresh soil mix to give your bonsai optimal growing conditions. For best results, choose a lightweight potting soil mixture containing organic materials such as peat moss, coconut coir and perlite for proper drainage. Make sure the container you use is well-draining with adequate ventilation holes on the bottom.
Contents:
- Understanding the growth cycle of boxwood bonsai
- Identifying signs that your boxwood bonsai needs repotting
- Evaluating the current pot size and soil quality
- Choosing the best time to repot your boxwood bonsai
- Tools and materials needed for successful repotting
- Basic steps in repotting a boxwood bonsai
- Post-repotting care tips and maintenance techniques
Understanding the growth cycle of boxwood bonsai
Boxwood bonsai is a popular shrub among gardeners because of its visually appealing and hardy nature. An important part to keeping boxwood bonsais healthy and thriving is understanding their growth cycle. Proper repotting can be the difference between success and failure when it comes to these delicate plants, but knowing when to repot them in the first place can be tricky.
The growth cycle of boxwood bonsais depends on many factors, such as temperature, sunlight exposure, humidity levels, and soil conditions. The most critical factor for successful repotting though is timing. Repotting should be done when the roots of the plant become too large for its container; if they are left in their current pot too long they will start to become root-bound which reduces growth potential significantly. Generally speaking you want your boxwood bonsai’s root ball mass to take up around two thirds of the entire pot when it’s time to transplant into a larger one.
To determine whether or not it’s time for a repotting check the size of your plant’s root system by gently removing it from its pot every year or so during summer months; also inspect for signs of diseases or pests during this time like discolouration or fuzzy substances on leaves that could indicate an infestation needing attention. Once you have determined that everything looks alright then go ahead with your plan depending on how densely populated with roots the soil appears. It might take some experience before determining exactly what stage in its life your boxwood bonsai needs repotting – but with careful observation you can make sure you don’t miss out on ideal times.
Identifying signs that your boxwood bonsai needs repotting
Repotting a boxwood bonsai is an important task that should be done when the signs of overgrowth start to appear. It’s vital to understand the nuances associated with caring for a boxwood bonsai tree and know when it needs to be repotted, so you can ensure its health and well-being. Before moving on to deciding how frequently your tree should be repotted, let’s take a closer look at what signals that it’s time to give your boxwood bonsai some extra space.
A few telltale signs that it’s time for your tree to be moved into a larger pot are discolored foliage or slow growth caused by root constriction in an undersized container; water pools in the tray underneath indicating poor drainage; shallow roots growing near the surface; taproots extending from drainage holes of non-glazed containers; and thick coil root developing towards the outer edge of the pot. It is also recommended that one inspects soil condition every spring or after pruning as dryness or compaction could mean your tree needs more oxygen around its root system and new pots allow better circulation of air around them.
For best practice, container grown trees must never be allowed to become pot bound by overcrowding in old roots systems which limit further development. While examining roots, move slowly until suddenly more resistance is felt which points out where healthy white feeder roots end, yet enough room still remains within their circle of influence (no longer than 4 inches). At this point selecting a new container size allows adequate amount of fresh composted mix while reducing transplant shock – which happens if too much bare root exposure occurs during transfer process.
Evaluating the current pot size and soil quality
Knowing when to repot your boxwood bonsai can be a difficult decision. Evaluating the current pot size and soil quality is essential in this process. If the roots have filled the current container, it’s time to upsize your pot. When examining the roots of your tree, they should not be crowding each other or wrapping around itself. A good sign that you need a new pot is if there are water droplets on its surface after watering because this means there’s nowhere for the water to go anymore.
When it comes to assessing soil quality, evaluate how much organic matter remains in it and whether it has started decomposing due to an excess of water or lack of air circulation. Check for any pests or insects that might be damaging your plant through direct contact with their saliva. Don’t forget about salt buildup; which occurs when over-fertilizing takes place and therefore limits growth opportunities for any plants near by as well as yours specifically.
To summarize what was mentioned above: once you determine that both the pot size and soil quality are no longer suited for your bonsai tree then you know it’s time to repot. You can also tell by judging root health visually as well as checking salinity levels of both yourself and neighboring plants amongst many other components such as having waterproof pots and pest checks – all items worth noting before initiating a re-potting project.
Choosing the best time to repot your boxwood bonsai

When it comes to caring for a boxwood bonsai, one important factor is determining when to repot the plant. With careful consideration of the season and other environmental factors, bonsai hobbyists can help ensure their plants thrive.
Springtime is typically the optimal time to repot a boxwood bonsai since cooler temperatures are conducive to pruning. It also gives the plant a full growing season ahead so that its roots have ample time to adapt and become established in new soil before colder weather sets in again. When you do choose to repot during springtime, be sure that there will not be any danger of frost in the near future as it can damage young root systems still vulnerable from transplanting stress.
In contrast, summer may be an ideal season for planting newly acquired boxwood bonsais since they have plenty of sunshine and warm air allowing them to recover quickly from being transplanted. However, just like with springtime repots make sure you’re aware if there’s impending heat waves or dry spells as this could put undue stress on your bonsai and cause problems down the line such as wilting leaves or dead branches.
Tools and materials needed for successful repotting
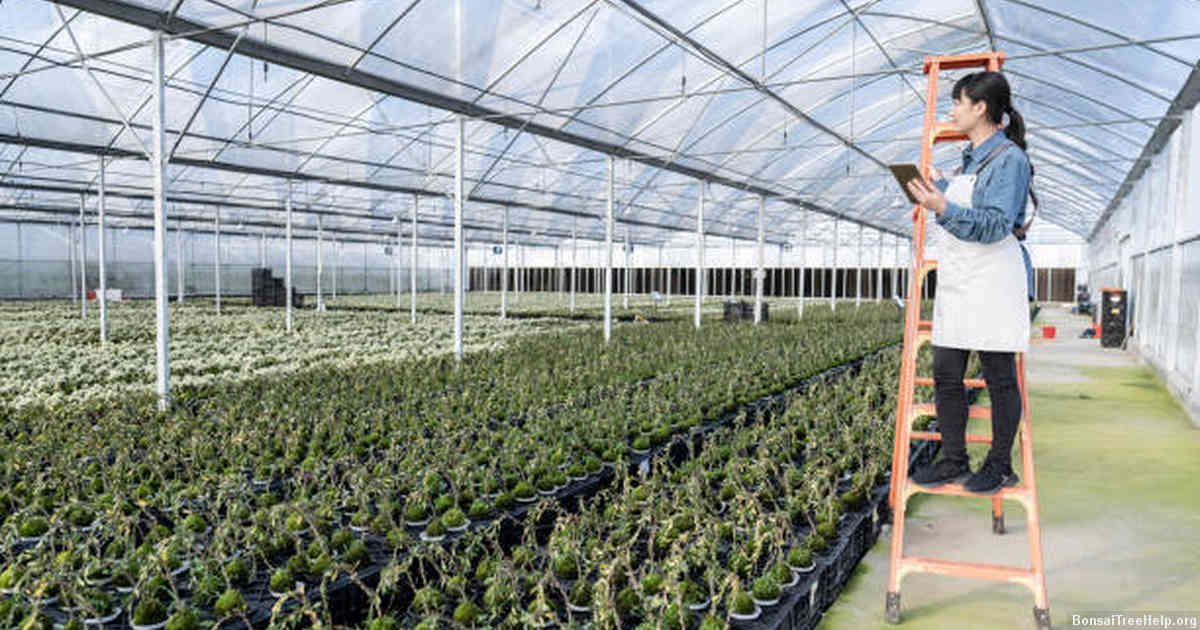
Repotting a boxwood bonsai requires some specific tools and materials. First of all, you will need a pair of pruning shears in order to trim any roots that are too long. A small saw can also come in handy if your bonsai is overgrown or has very hard wood. It is important to have potting soil specifically designed for bonsais. This type of soil helps retain moisture and encourages healthy root growth without drowning the roots.
When repotting, it’s best to start by brushing off as much old soil from the roots as possible using a soft brush or cloth rag. It is also helpful to gently tug on the root ball to loosen tightly wound roots before setting your bonsai into its new home. Once planted, use wire cutters to trim away excess wires used during training so they don’t become entangled with the fresh soil and potentially damage your tree’s health. Water your newly planted bonsai thoroughly until it runs out of the drainage holes at the bottom of its pot then cover with an appropriate amount of slow-release fertilizer pellets based on size and age of plant.
Following these simple tips will ensure you have everything you need for successful repotting and keeping your beloved boxwood bonsai looking its best.
Basic steps in repotting a boxwood bonsai
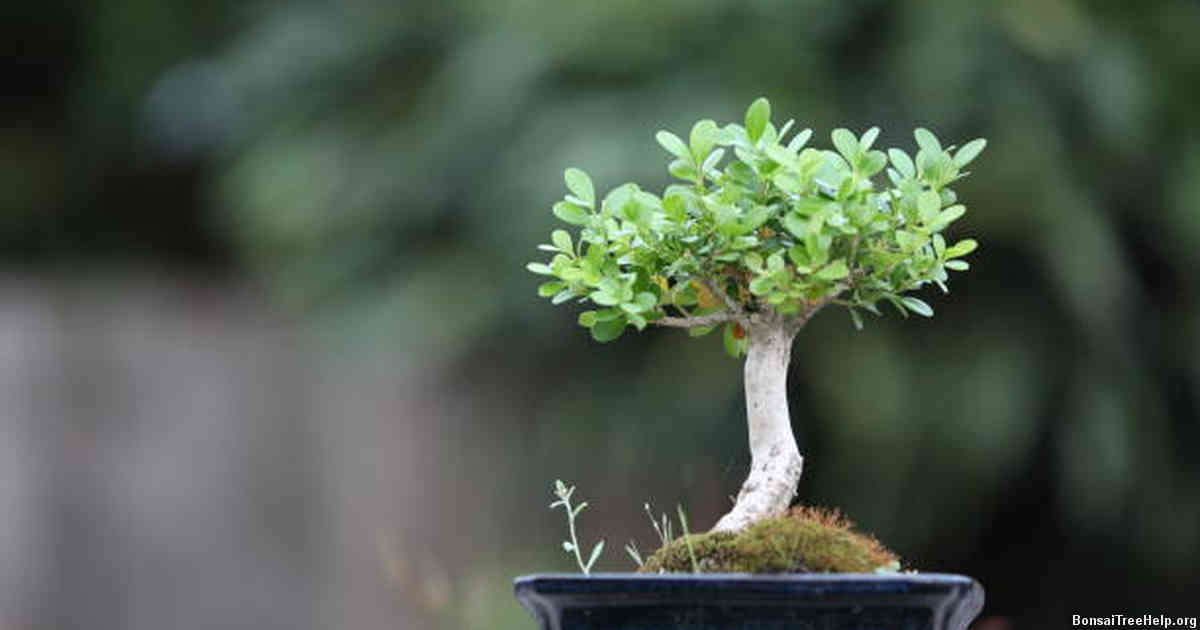
Repotting a boxwood bonsai is an essential part of its maintenance, but it should only be done when necessary. To determine when to repot your bonsai, inspect the potting soil and examine the root ball for signs of compaction or malnutrition. When you’ve made the decision to repot your bonsai, there are certain steps that must be taken in order to protect and nurture its health.
The first step in repotting a boxwood bonsai is to create new soil mix. This mix should include soil amendment such as perlite or pumice to provide good drainage, along with some organic material like peat moss and aged compost. It’s important to select appropriate soils that won’t compact easily, so they won’t affect the roots once planted into them. After combining these materials together thoroughly, allow enough time for the components of the mixture to settle before using it on your plant.
Once the fresh potting mix is ready, use a shallow bowl or container filled with room temperature water to slowly loosen up any tight roots from the old soil by submerging them for about 20 minutes before proceeding with replanting them into their new home. Make sure you have removed all traces of foreign elements from inside the newly-acquired vessel too if needed – this will ensure sufficient airflow which can prevent rot forming deep down inside of it over time. Then carefully arrange each root back into place within this new environment at least 1 inch below where its base previously sat; however avoid placing excessively close together so air circulation isn’t hindered at any point during growth stages ahead. Finally give your freshly-potted plant some well earned TLC such as regularly monitored moisture levels & pruning occasionally when necessary throughout 2021!
Post-repotting care tips and maintenance techniques

One of the most important parts of maintaining a boxwood bonsai is ensuring that its repotting happens at the right time. After giving your bonsai new soil and a fresh pot, proper post-repotting care must be taken in order to ensure it thrives. Here are some tips for properly caring for your boxwood after repotting:
Water your bonsai immediately after you have finished repotting it – keeping the newly settled root system hydrated will help the plant adjust to its new environment. Also, you should check on your newly potted boxwood regularly over the next few weeks as it adjusts, and make sure that it stays moist but not overly saturated with water.
In addition to making sure your bonsai receives enough water during this time, fertilizing once per month can go a long way towards helping it recover from being moved. A balanced fertilizer diluted with water is perfect for small amounts of nutrient supplementation throughout the year. An occasional misting with a liquid foliar feeder can provide additional benefits during warm weather months when leaves may be more likely to dry out or suffer from drought stress.
Pruning should also be done at least once every six months following a repot in order to maintain healthy growth and remove any excess branches that are crowding other stems or look unkempt. Always wear protective gloves when handling sharp pruning shears since boxwoods contain toxins in their sap which can cause skin irritation if touched directly by bare hands or unprotected arms.
Leave a Reply